Offer auto-renewable subscriptions
App Store Connect offers tools to help you run a subscription business on the App Store. How you configure your subscriptions in App Store Connect determine how users subscribe to your service, how often they are billed, and how they upgrade and downgrade between offerings. To begin offering a subscription in your app, you will need to create a Subscription Group, then add one or more Subscription products to that group, then assign levels to those products. Subscription setup is structured as the following:
-
Subscription group: A set of subscription products with varying levels and durations. Users can subscribe to one subscription product per group at a time.
-
Subscription: A product that lets users purchase dynamic content for a set period. Auto-renewable subscriptions renew automatically, unless cancelled by the user. Subscription duration and price is configured in App Store Connect.
-
Subscription levels: A ranking system of subscriptions within a subscription group that determines the upgrade, downgrade, and crossgrade path available to subscribers. Levels make it possible to offer varying access (basic, premium) of the same service.
-
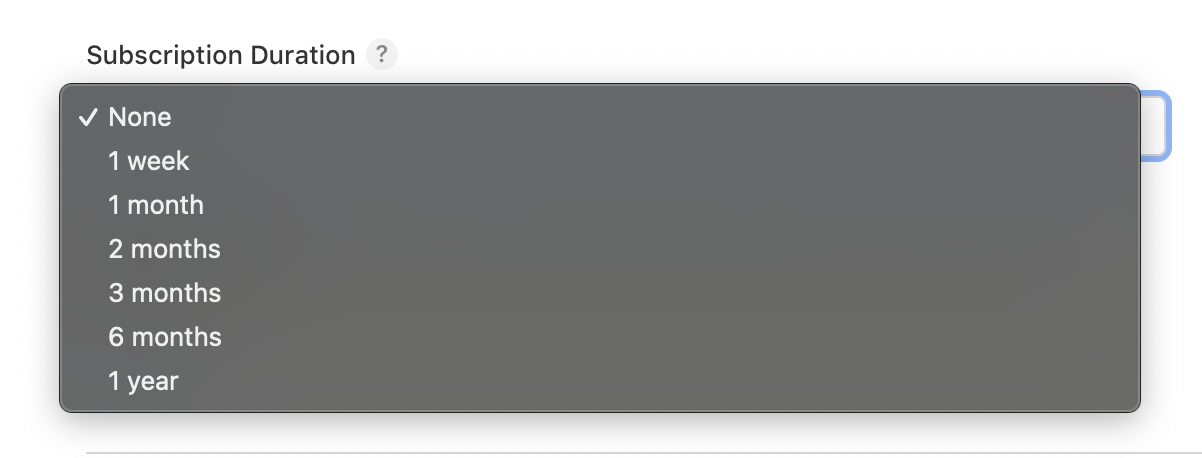
Subscription duration: The length of time before the subscription renews and the subscriber is charged. Possible durations are 1 week, 1 month, 2 months, 3 months, 6 months, and 1 year.
Single subscription product setup
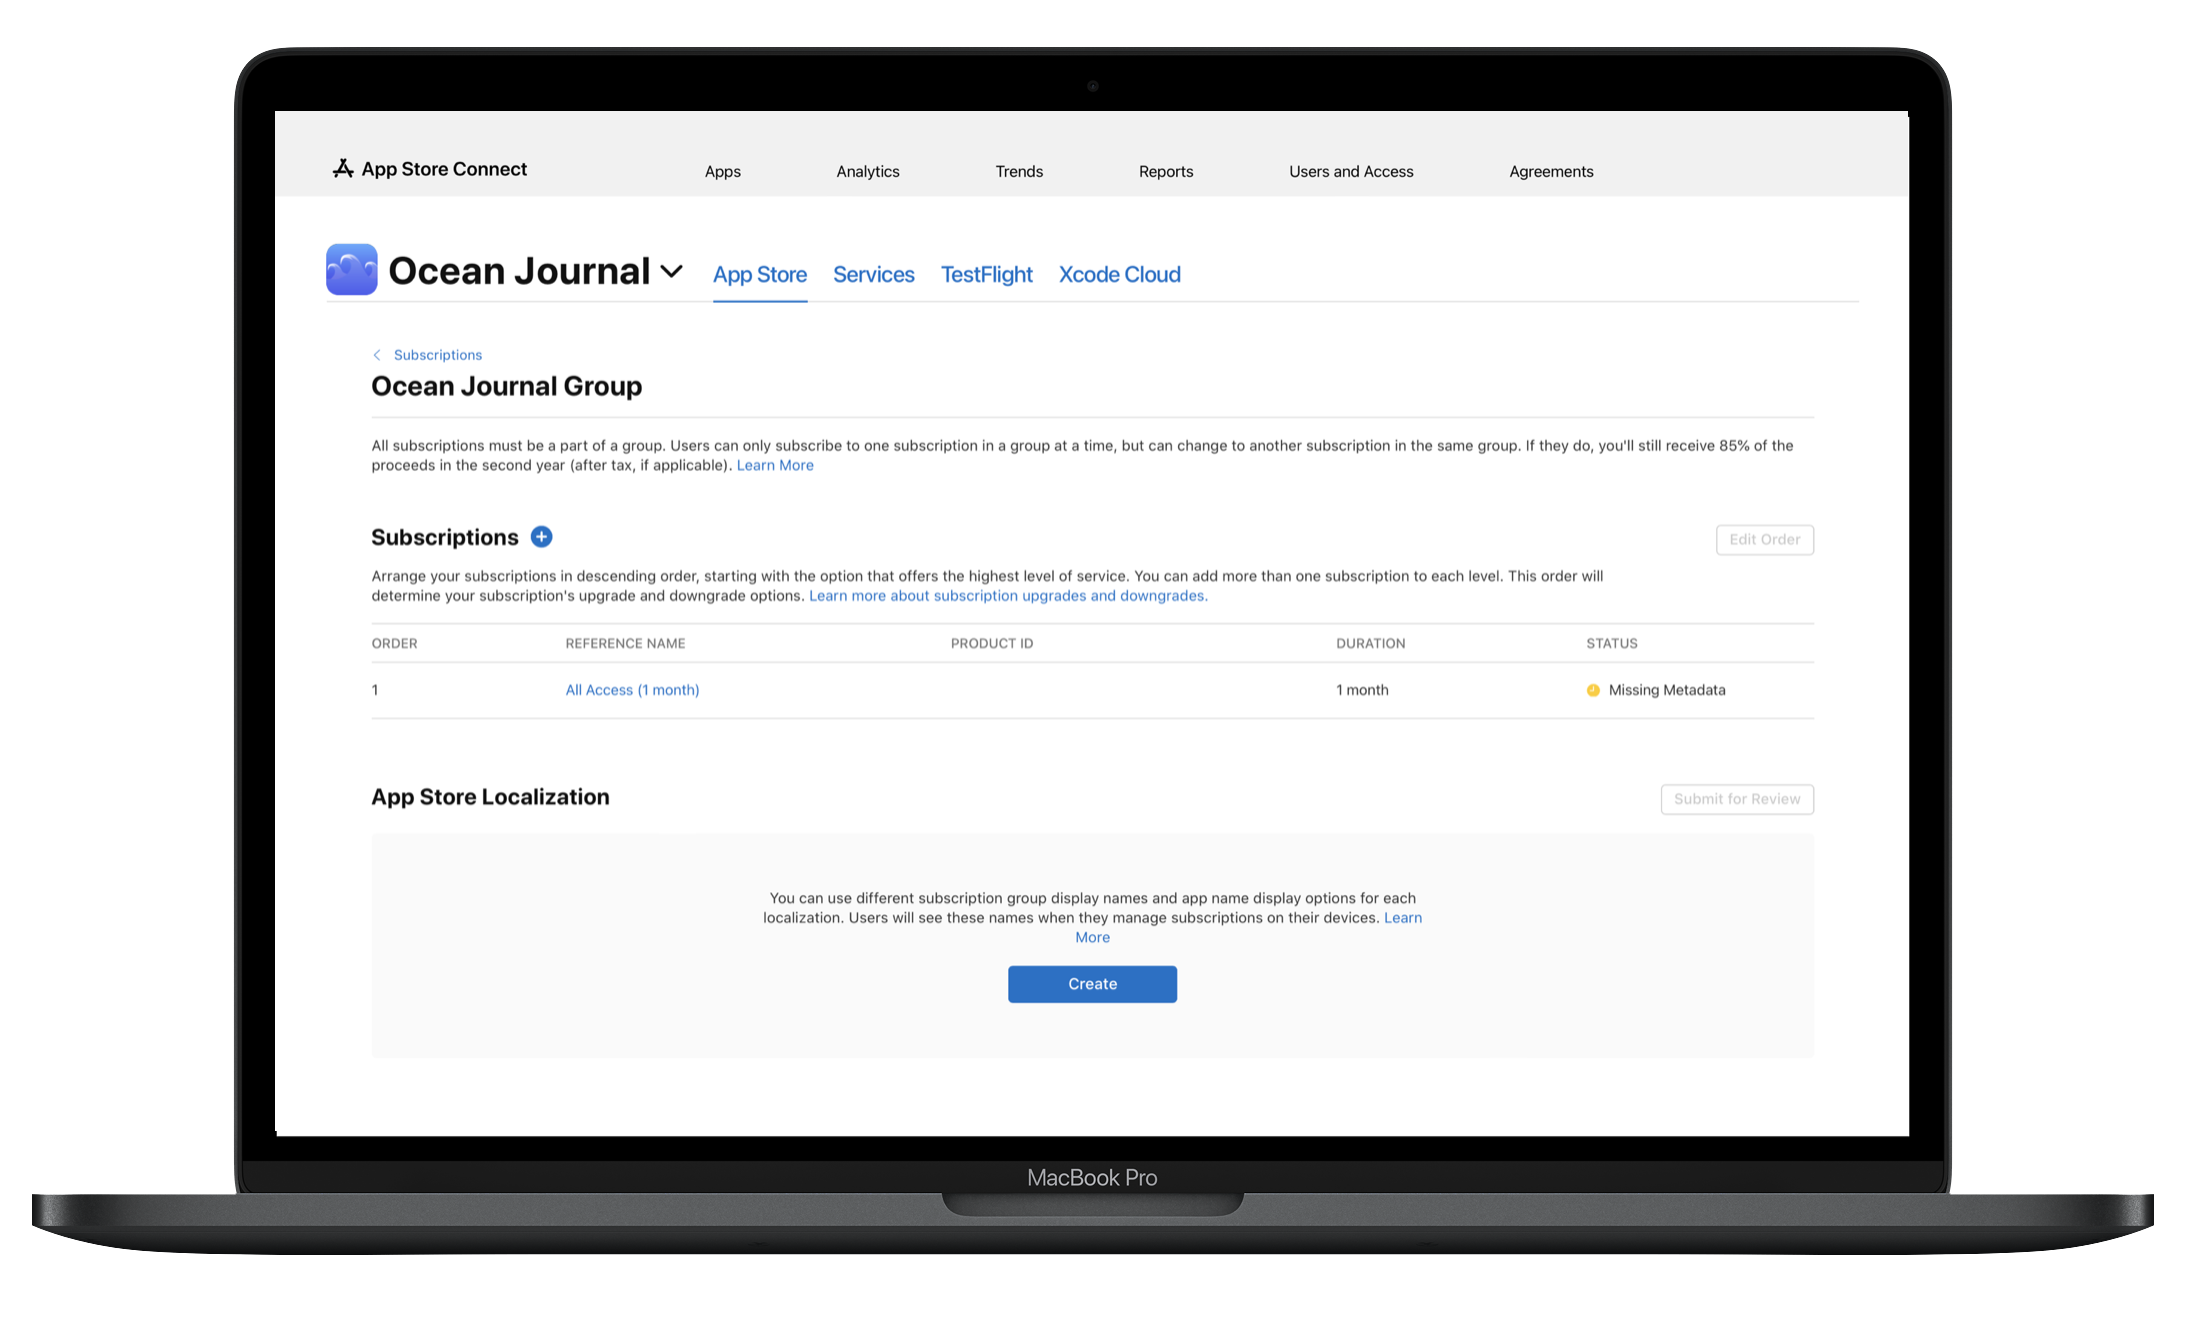
If you offer only one subscription product in your app, the subscription defaults to a single level within the subscription group.
Multiple subscription and durations product setup
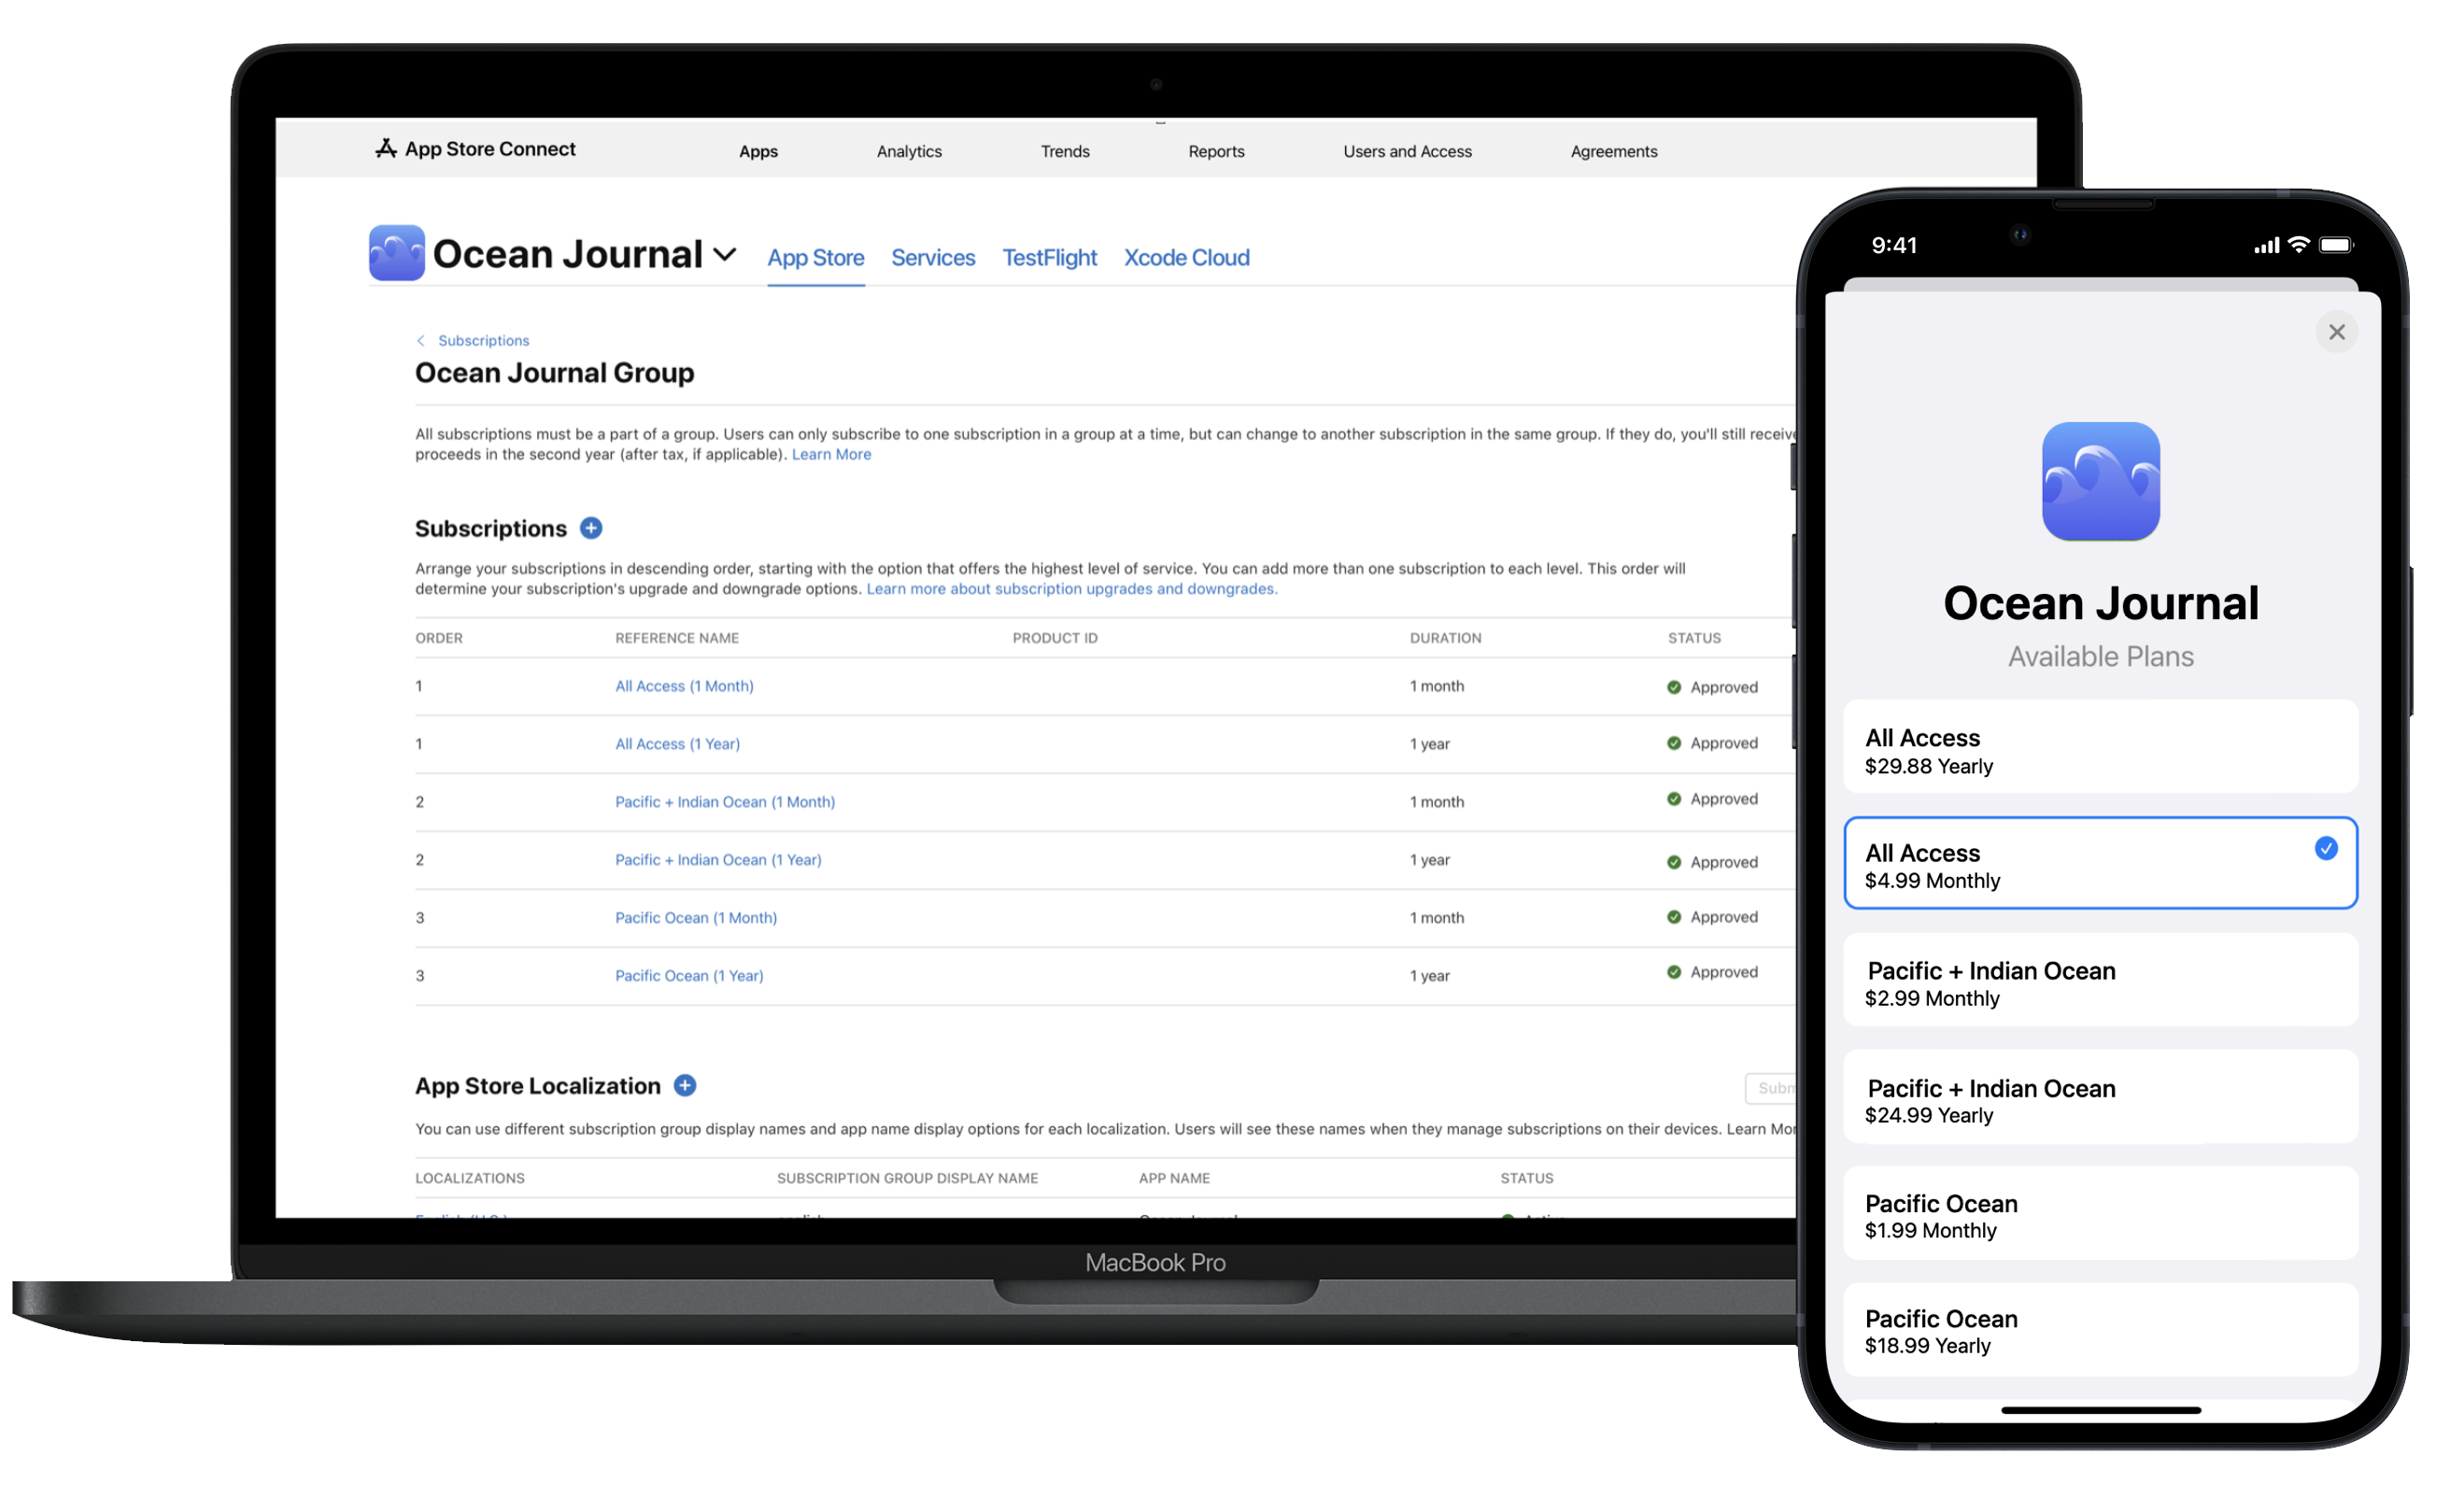
Arrange your subscriptions in order from the one that offers the most (level 1) to the one that offers the least. You can stack subscriptions with equal content but different durations and other similar variables, at the same level. Each level can have multiple subscription products, allowing for multiple durations and prices for people to choose from. This lets them upgrade, downgrade, and crossgrade within the subscription group without impacting their days of paid service.
Subscription proceeds rate
During a subscriber’s first year of service, you receive 70% of the subscription price at each billing cycle, minus applicable taxes. After a subscriber accumulates one year of paid service in the same subscription group, your net revenue increases to 85% of the subscription price, minus applicable taxes. Time spent within a subscription offer is also counted toward the total. Members of the App Store Small Business Program receive 85% starting on the first day.
When an auto-renewable subscription expires, the days of paid service stop accumulating. If someone resubscribes or the subscription is recovered within 60 days, the days of paid service continue from the recovery date. Conversely, if the subscription is recovered after 60 days, the rate reverts to 70% and the day count starts over.
When a subscription expires due to a billing issue, Apple attempts to renew the subscription and collect payment. If you enabled the billing grace period for your apps, there won’t be any interruption to days of paid service or to your revenue, if Apple is able to recover the subscription within the billing grace period (either 6 or 16 days, depending on the subscription duration). Learn more about billing grace periods.
You can find information about subscription performance, subscriber activity, and proceeds in your Sales and Trends reports. Learn more.
Note: It may take up to 1 hour for changes you make to product metadata to appear in the sandbox environment.
Required role: Account Holder, Admin, App Manager, Developer, or Marketing. View role permissions.
Create a subscription group
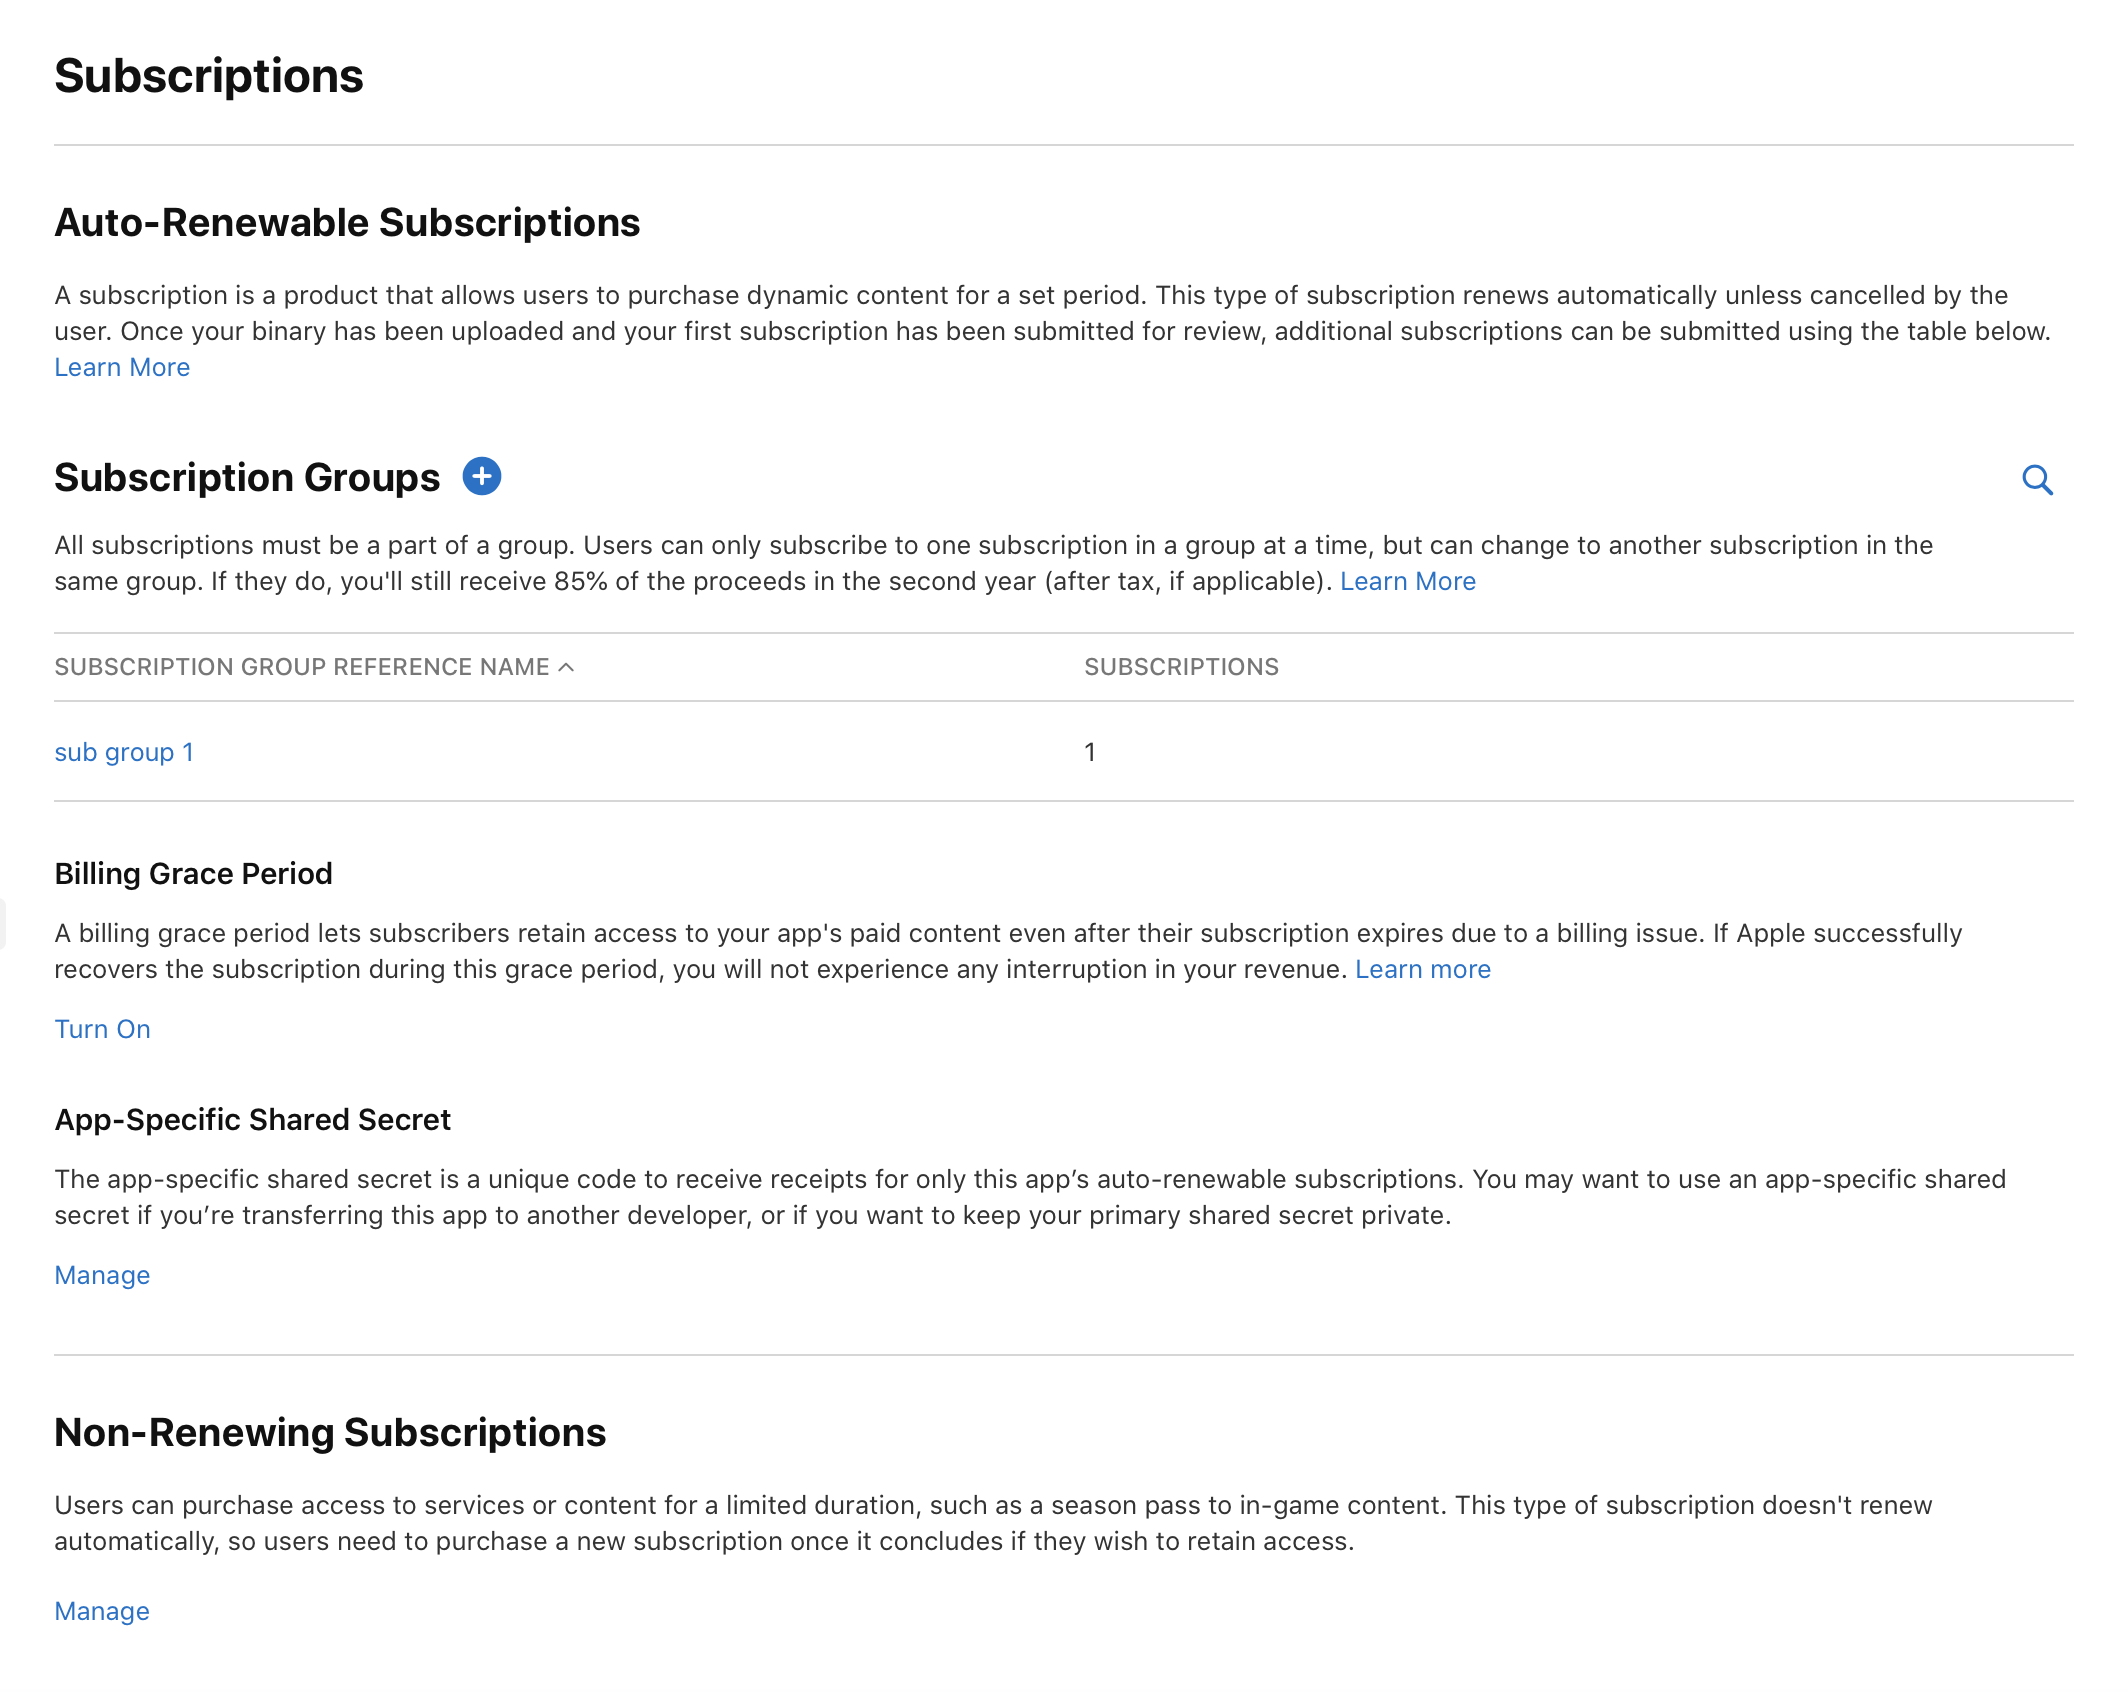
To offer subscriptions within your app, you must first create a subscription group in App Store Connect. When you create subscription products, you'll be able to add these products to the subscriptions group. Before creating subscriptions, ensure that you understand the right subscription setup for your business model. Learn about offering subscriptions.
-
In the sidebar under Monetization, click Subscriptions.
-
Click the add button (+).
-
Enter a reference name.
-
Click Create
Create an additional subscription group
If you want to offer groups of subscriptions with varying subscription levels, you’ll need to create more than one subscription group.
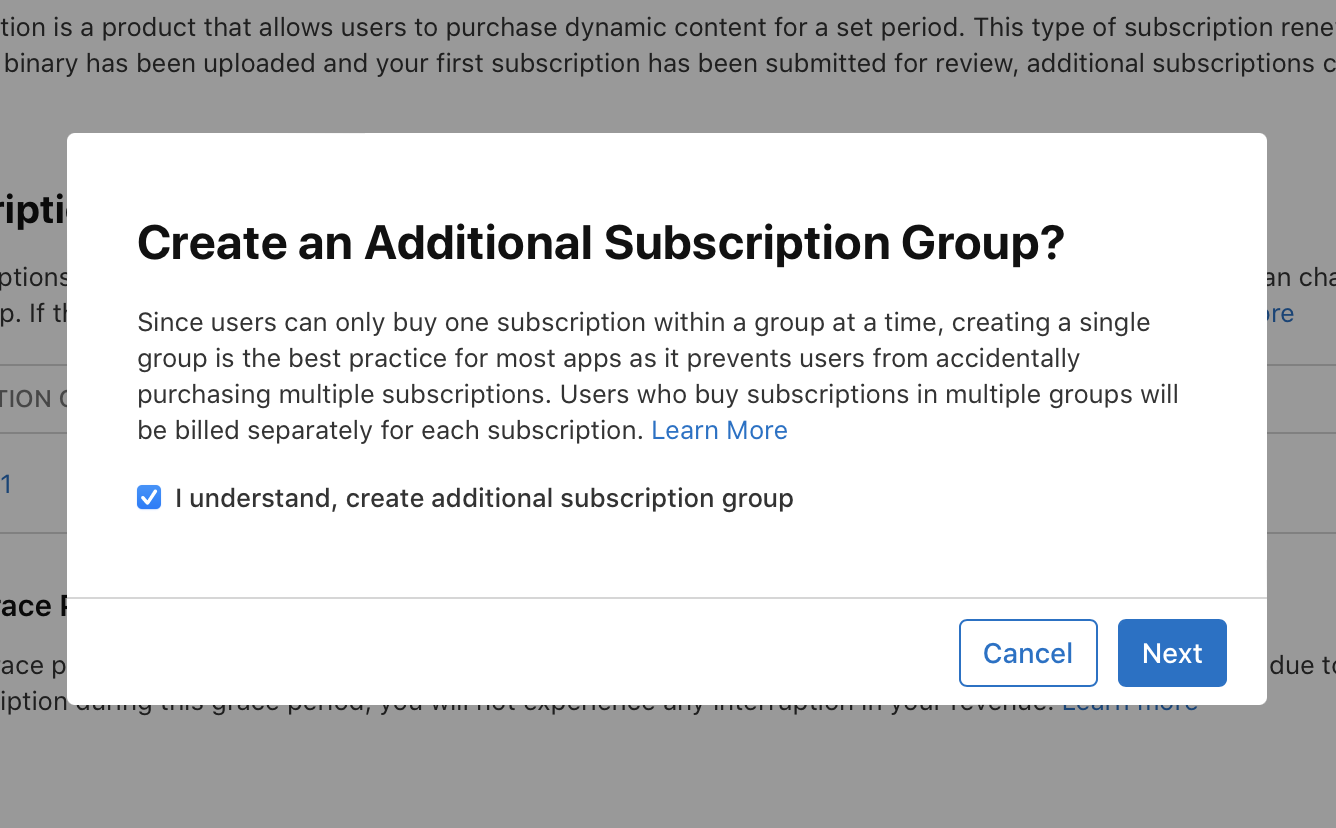
Note: Since users can only buy one subscription within a group at a time, creating a single group is the best practice for most apps, as it prevents people from accidentally purchasing multiple subscriptions. Users who buy subscriptions in multiple groups are billed separately for each subscription.
-
In the sidebar under Monetization, click Subscriptions.
-
Click the add button (+).
-
Read and acknowledge the warning by selecting the checkbox and clicking Next.
Note: You’ll only be prompted with a warning when creating your second subscription group.
-
Enter the reference name for the new group.
-
Click Create.
Add subscription products
-
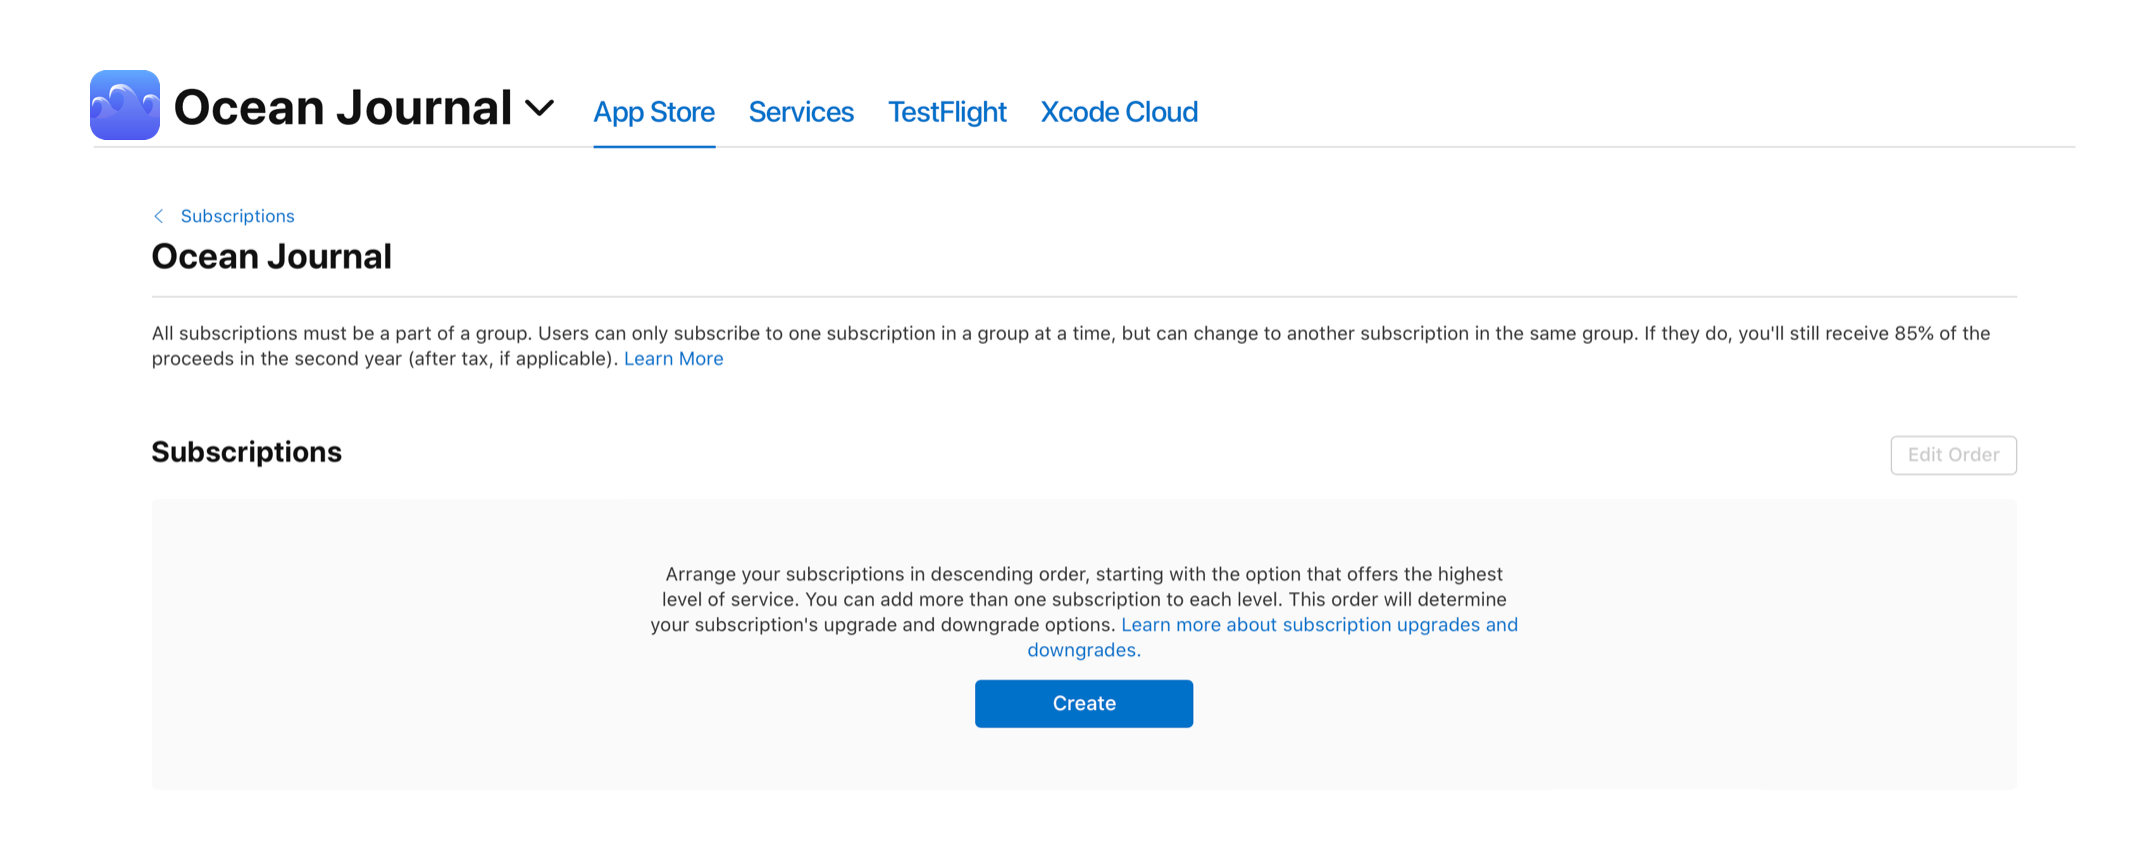
In the Sidebar under Monetization, click Subscriptions.
-
Click a subscription group name.
-
Click Create.
Note: If you're adding a subscription to a group that already has existing subscriptions, you'll click the add button (+).
-
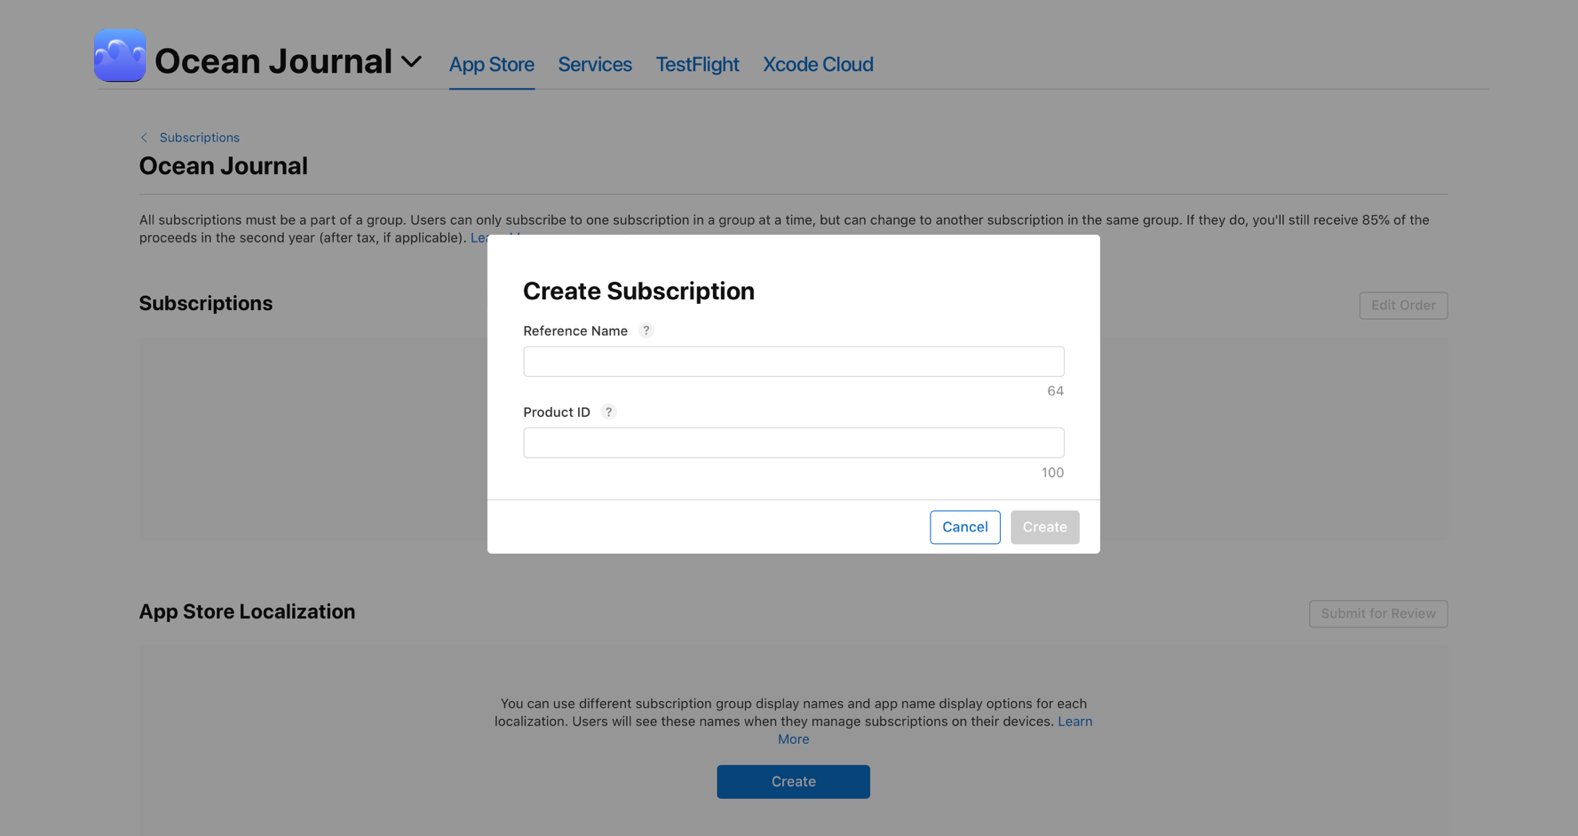
Enter the subscription’s reference name and Product ID, then click Create. Once you've created your subscription product, you'll be taken to its information page to add more details.
-
Under Subscription Duration, choose a duration and click Save.
-
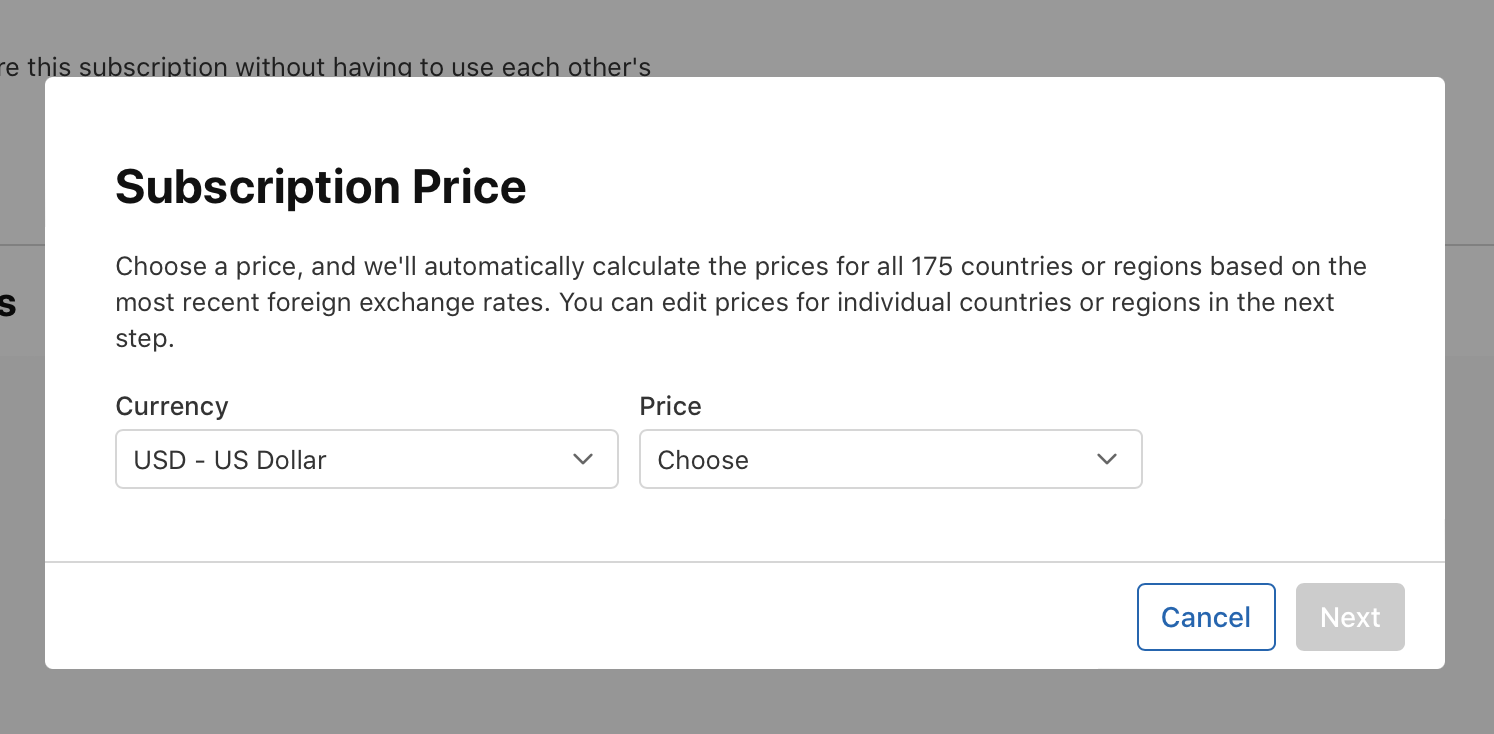
Under Subscription Prices, set a price.
-
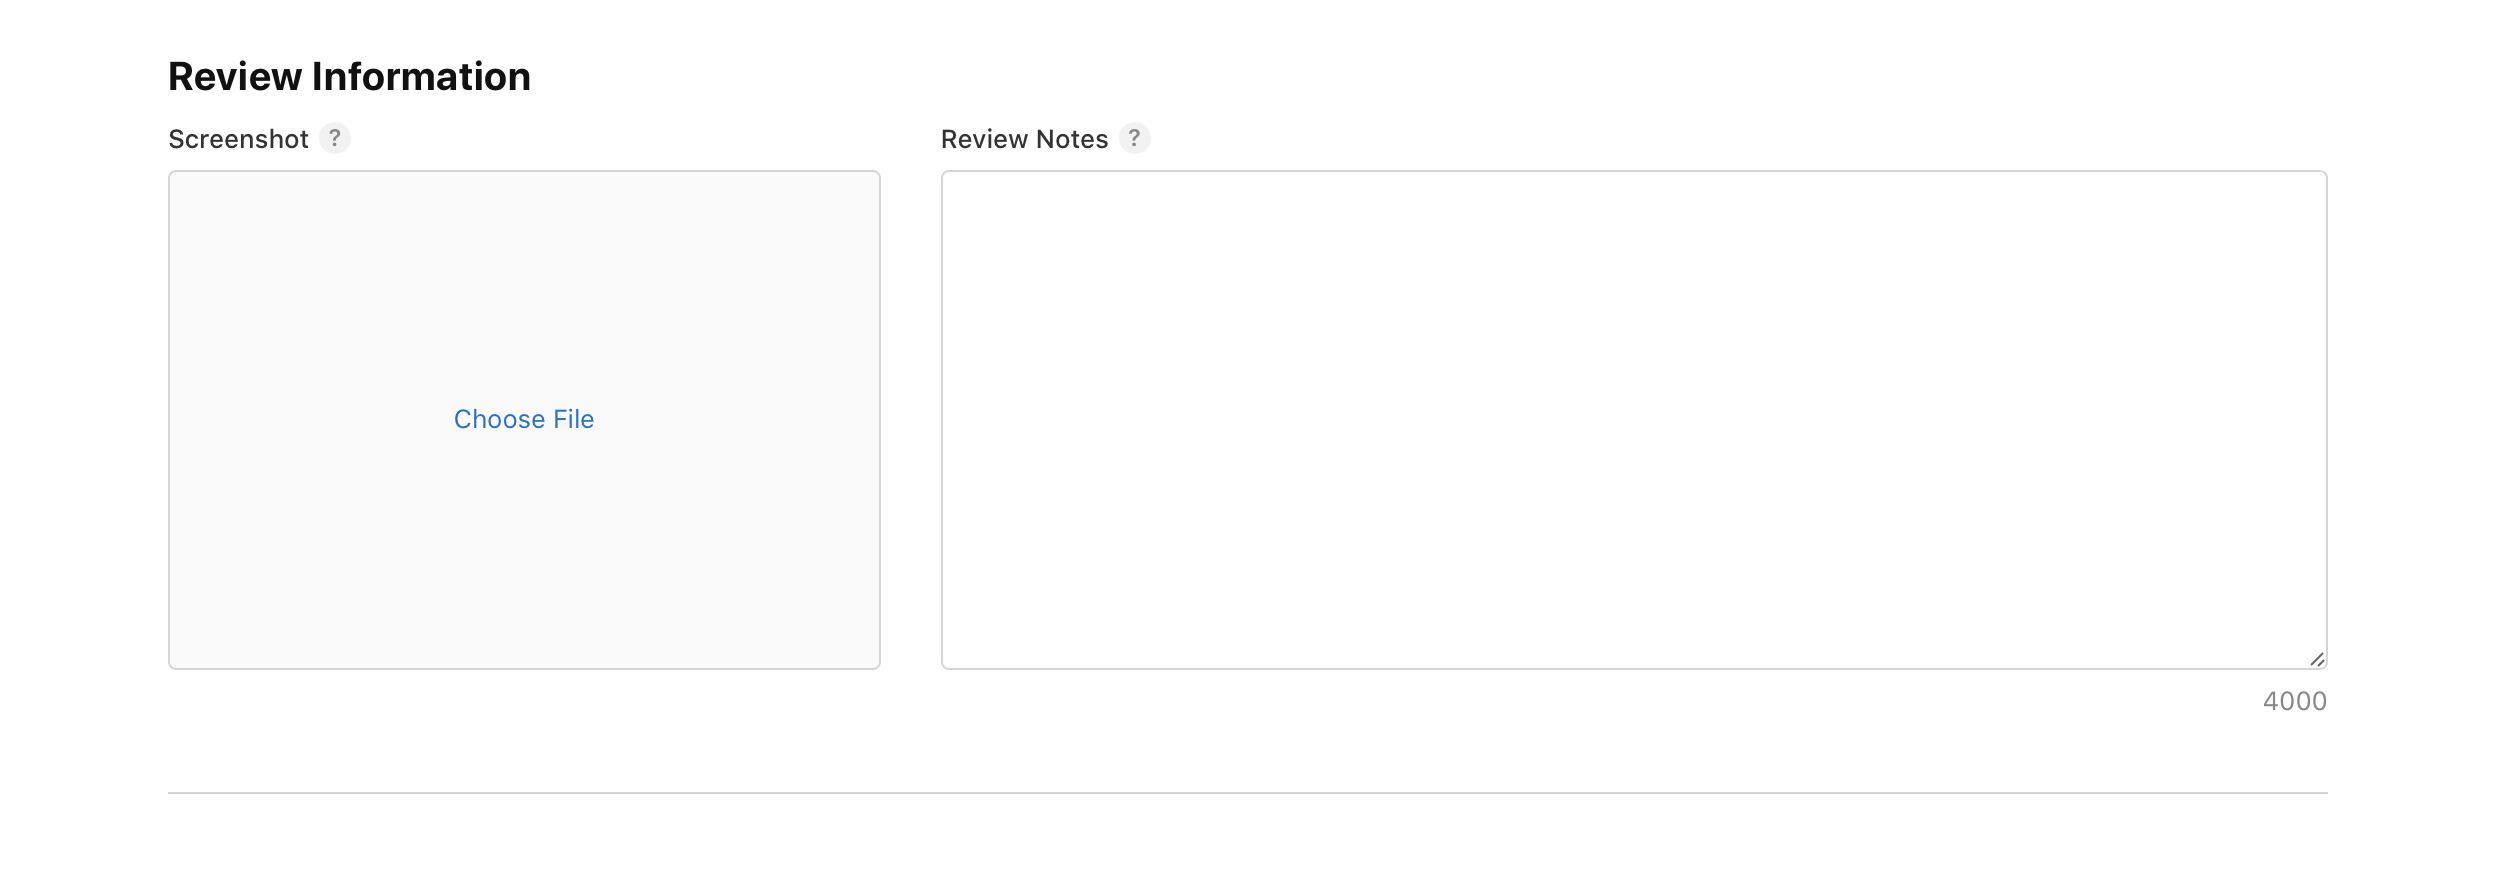
Under Review Information, provide any additional information that may help the App Review team review your in-app purchase.
-
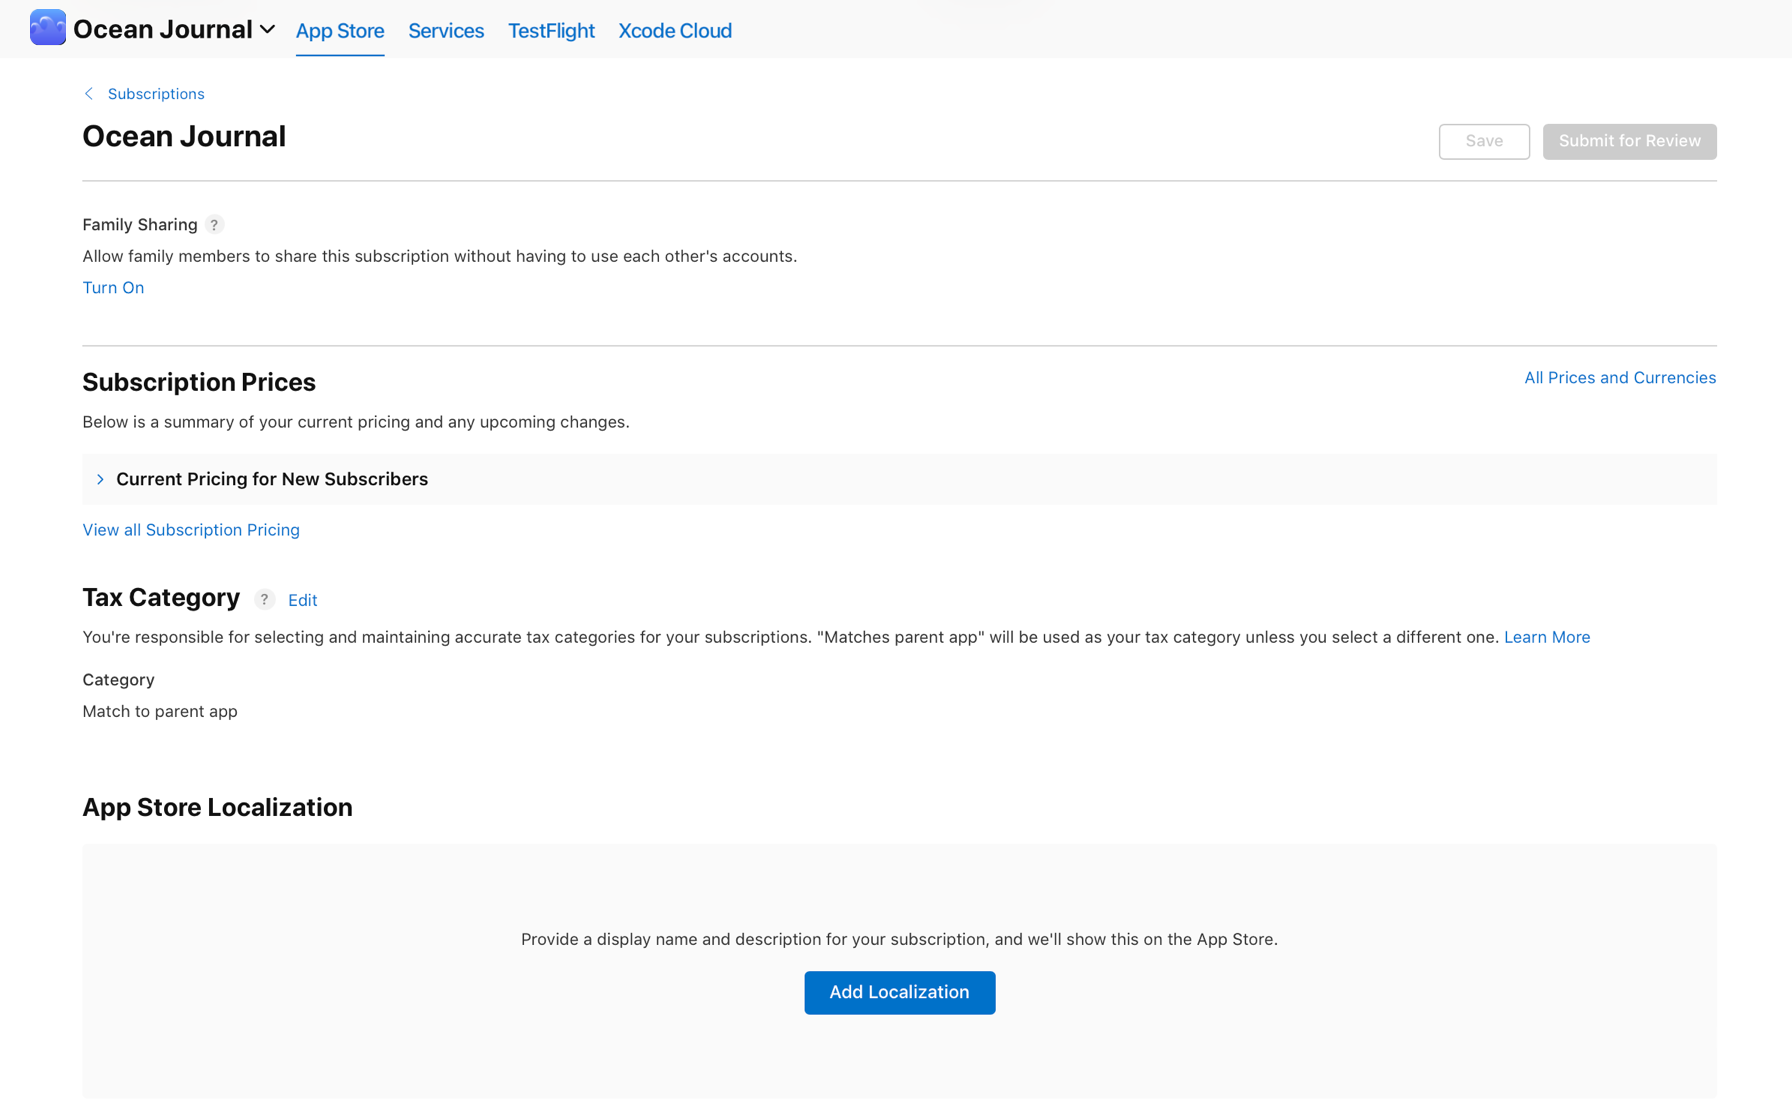
Optionally, enable Family Sharing, edit the subscription’s tax category, and add localizations.
-
Click Save.
Note: If you'd like your subscription to be accessible from more than one app, create an equivalent subscription product for each app. Learn how to offer subscriptions across multiple apps.
Assign subscription levels
After you've created a subscription product, you can add subscription group information and set subscription levels, which will determine the upgrades, downgrades, and crossgrades available within a group.
You don’t have to assign multiple levels. You can choose to offer a single subscription product or offer multiple subscription products and assign them all to the same level within a group. Learn about setting up subscription groups and ensure that you understand the right level setup for your business model.
-
From Apps, select your app.
-
In the sidebar under Monetization, click Subscriptions.
-
Click the subscription group you want to edit.
-
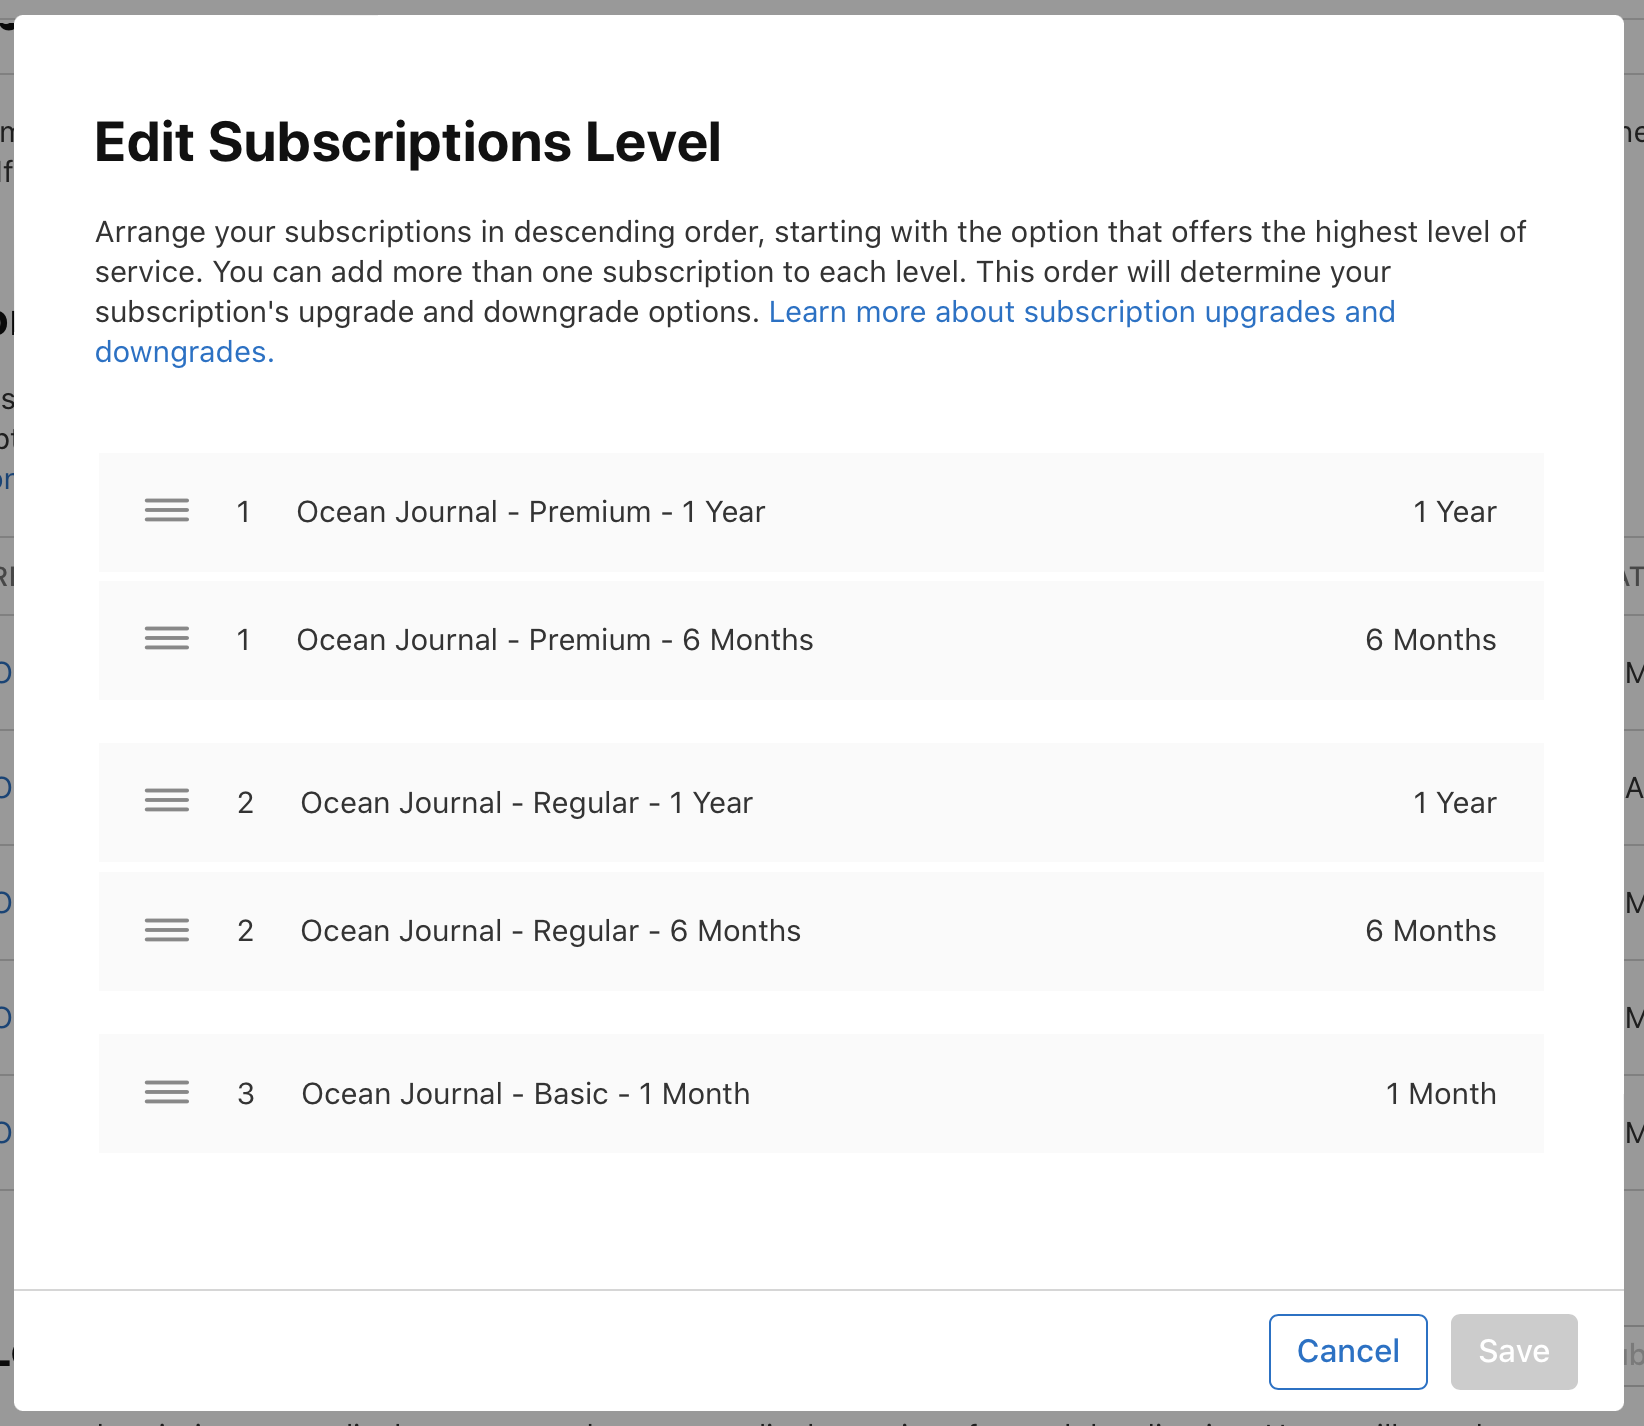
To set subscription levels, click Edit Level.
-
In the window that opens, click the reordering control on the left of the subscription name and drag it to a new position to change the subscriptions’ level.
-
Click Save.
Add localizations
You can add languages and enter localized metadata for your auto-renewable subscriptions and your subscription groups. For a list of supported languages, visit App Store localizations. Subscription group localizations and subscription localizations are reviewed independently from your in-app purchase submission. For the properties you can localize, visit Required, localizable, and editable properties. For a detailed example visit Localize app information.
Important: You can manage languages only when the app status is editable.
Add subscription group localizations
You can use different subscription group display names and app name display options for each localization. Users will see these names when they manage subscriptions on their devices.
-
From Apps, select your app.
-
In the sidebar under Monetization, click Subscriptions.
-
Click the subscription group name.
-
Click the add button (+) next to App Store Localizations.
-
Follow the prompts to select localizations and enter localized subscription group display names and descriptions.
-
Click Add.
Add subscription localizations
The localized display name and description for your subscription will appear on the App Store according to the user’s device language settings.
-
From Apps, select your app.
-
In the sidebar under Monetization, click Subscriptions.
-
Click the subscription group name.
-
Select the subscription.
-
Click the add button (+) next to App Store Localizations.
-
Follow the prompts to select localizations and enter localized subscription group display names and descriptions.
-
Click Add.