Offer an advanced App Clip experience
Learn how to create an advanced App Clip experience using the App Store Connect API.
Set up an advanced App Clip experience without place association
-
From Apps, select your app.
-
In the sidebar, select the iOS app version for which you want to add an App Clip experience.
-
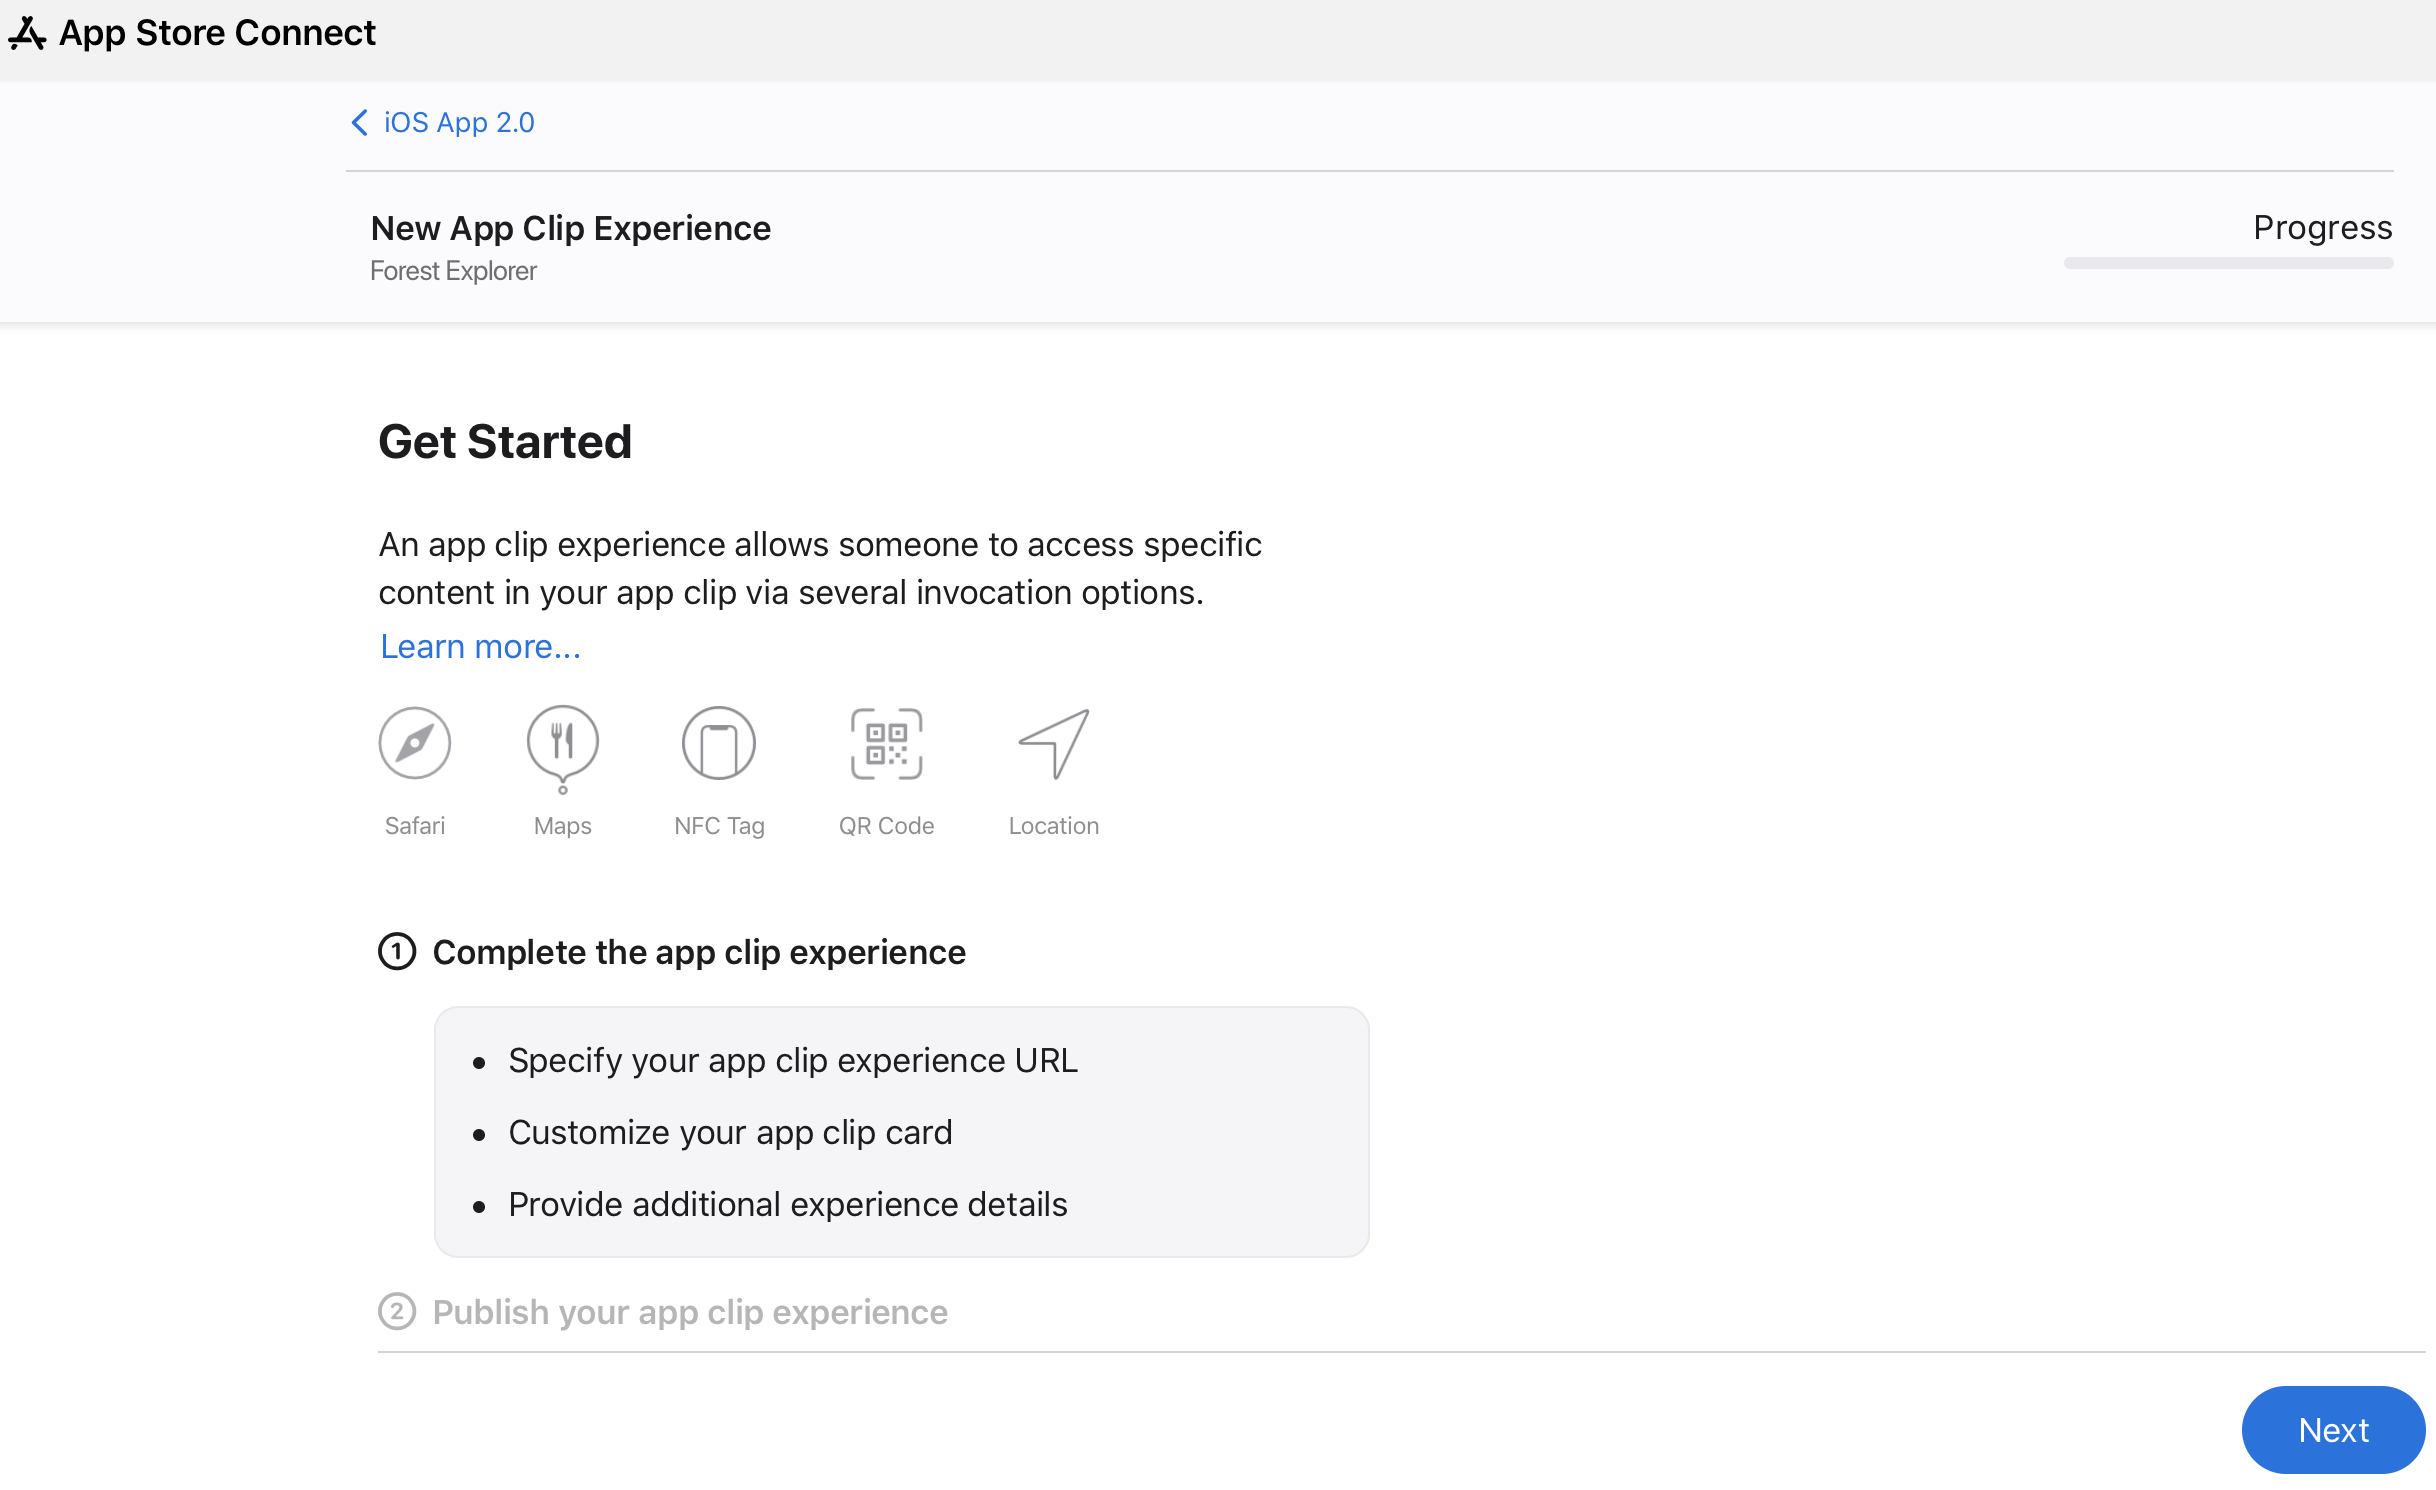
Under Advanced App Clip Experiences, click Edit Advanced Experiences. A new page opens with general information on what to provide.
-
Click Next.
-
In the App Clip experience URL field, enter the invocation URL for your App Clip experience.
The App Clip Bundle ID will be prepopulated.
-
Click Next.
-
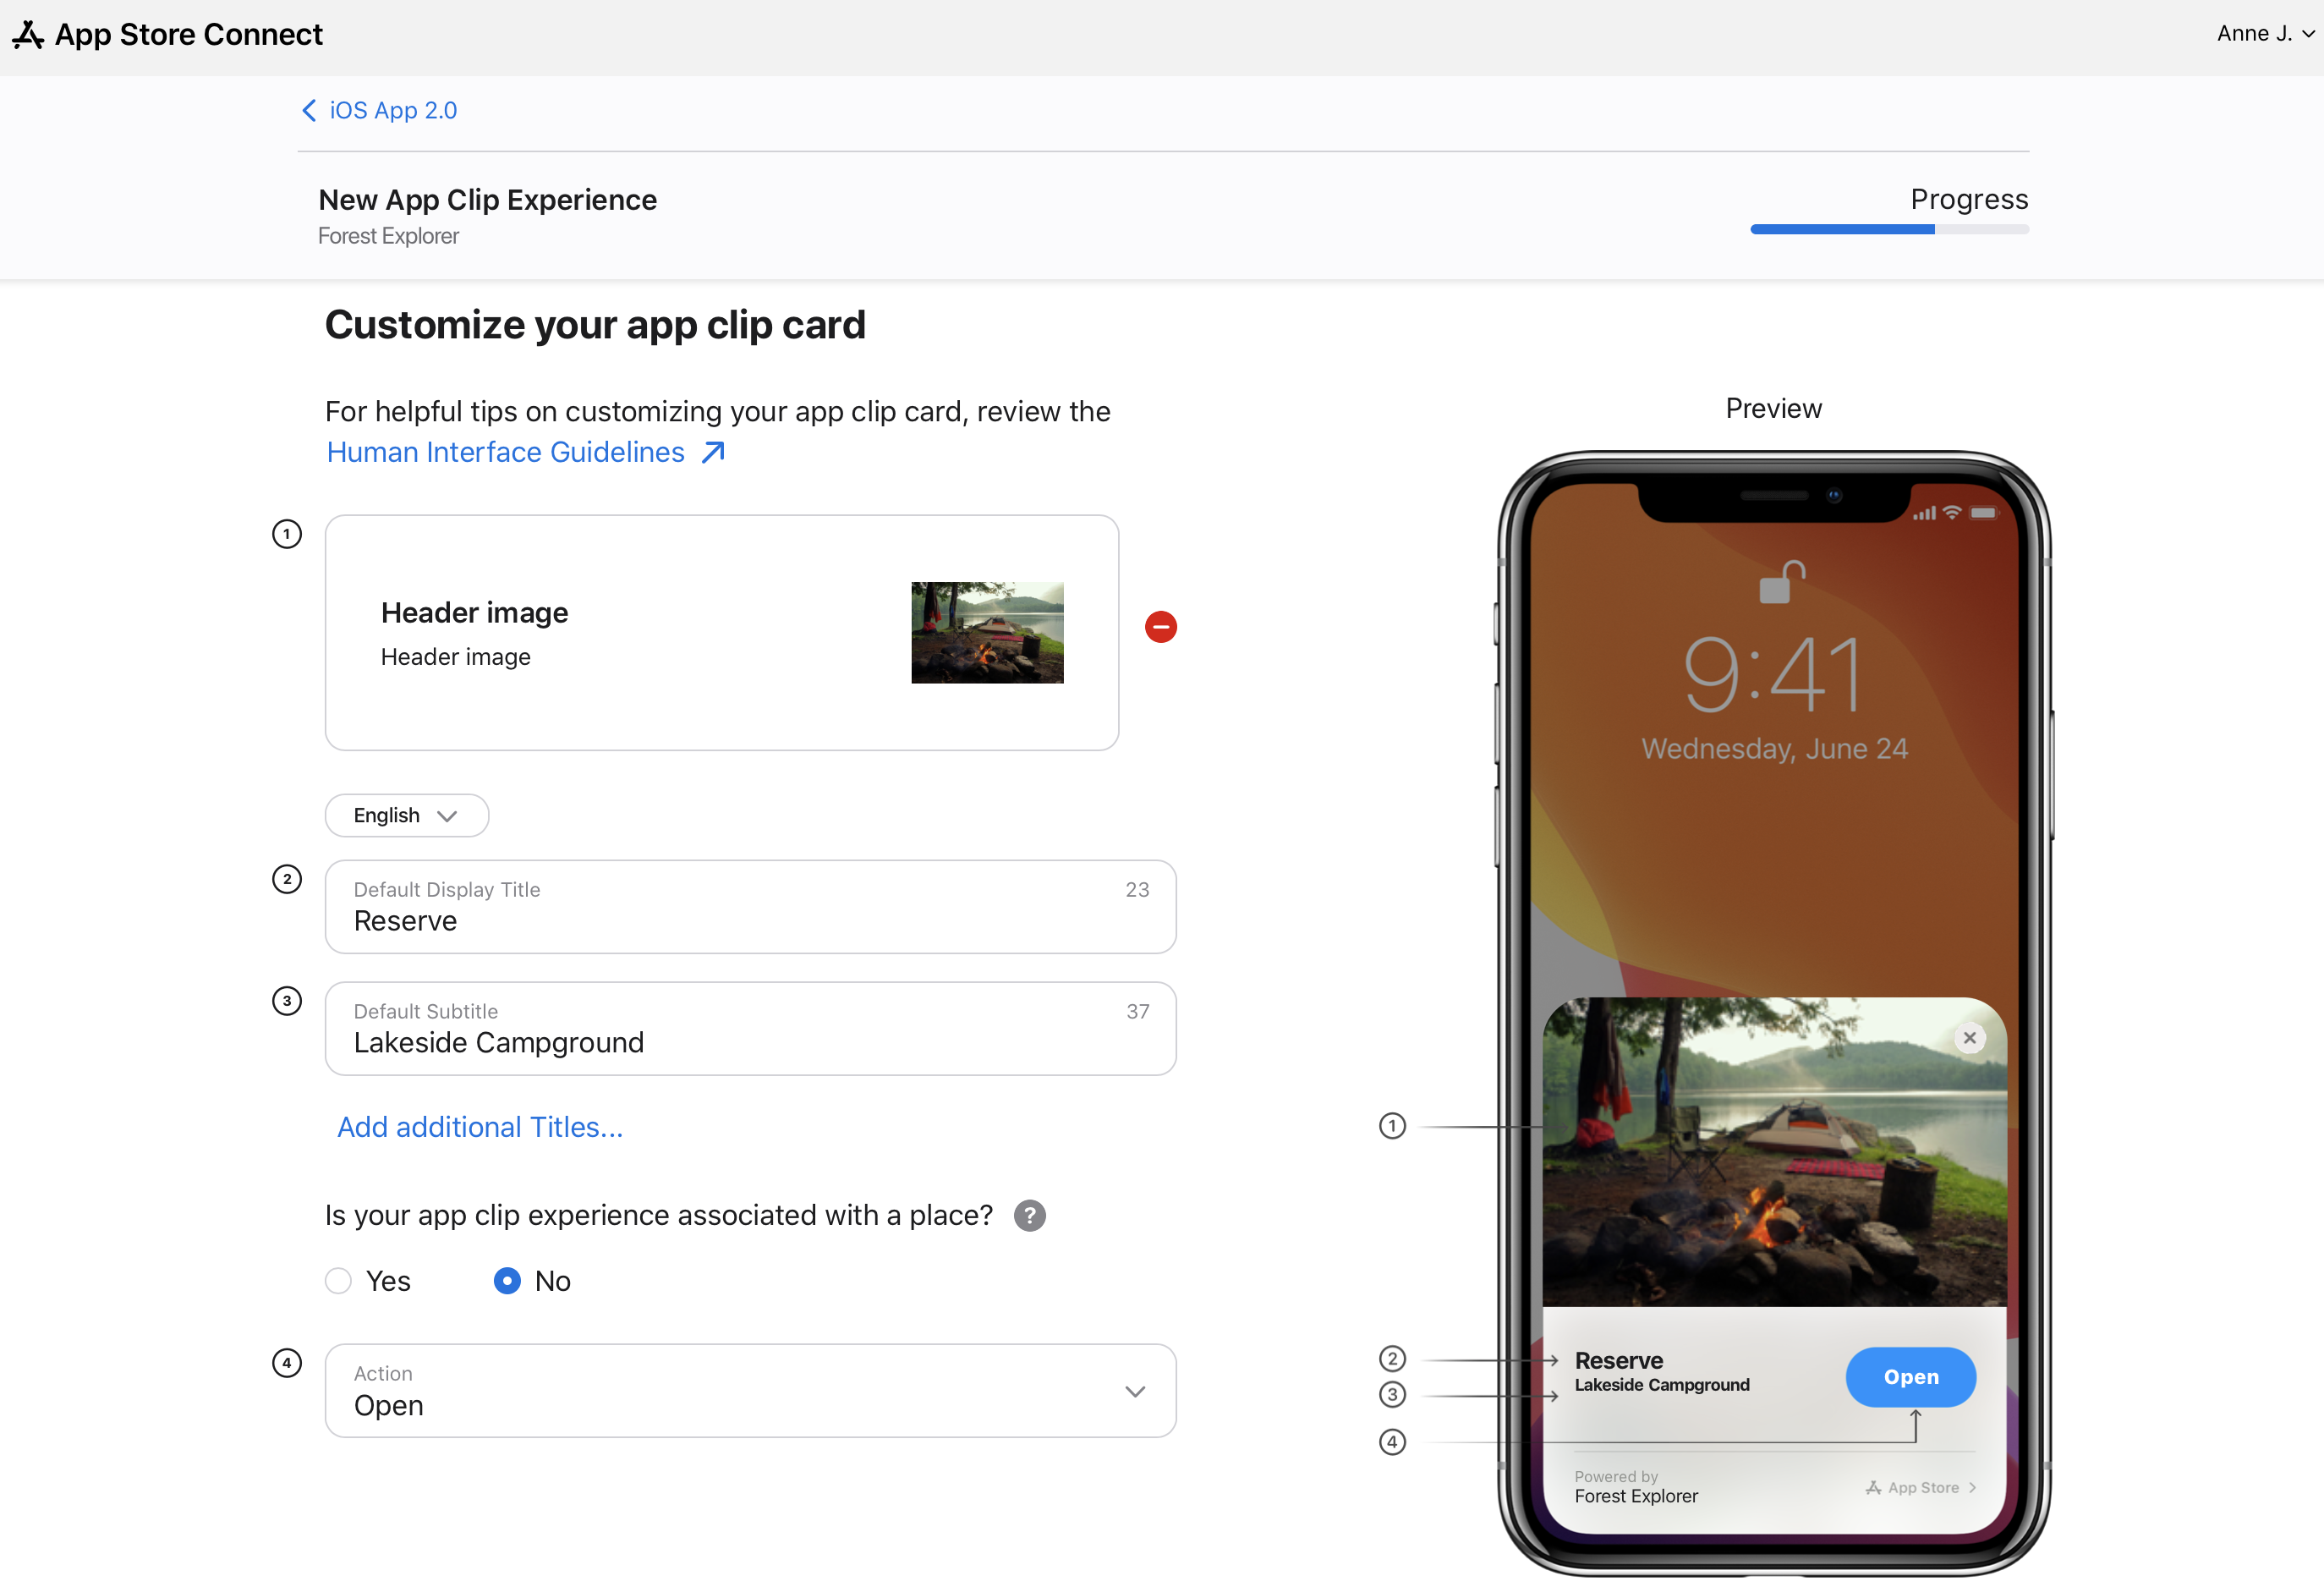
Enter the information for the App Clip card. To add a Default Display Title and Default Subtitle in additional languages, click Add Additional Titles.
-
Specify that your App Clip experience is not associated with a place.
View tooltips next to each field for more details.
-
Select a call to action, then click Next.
-
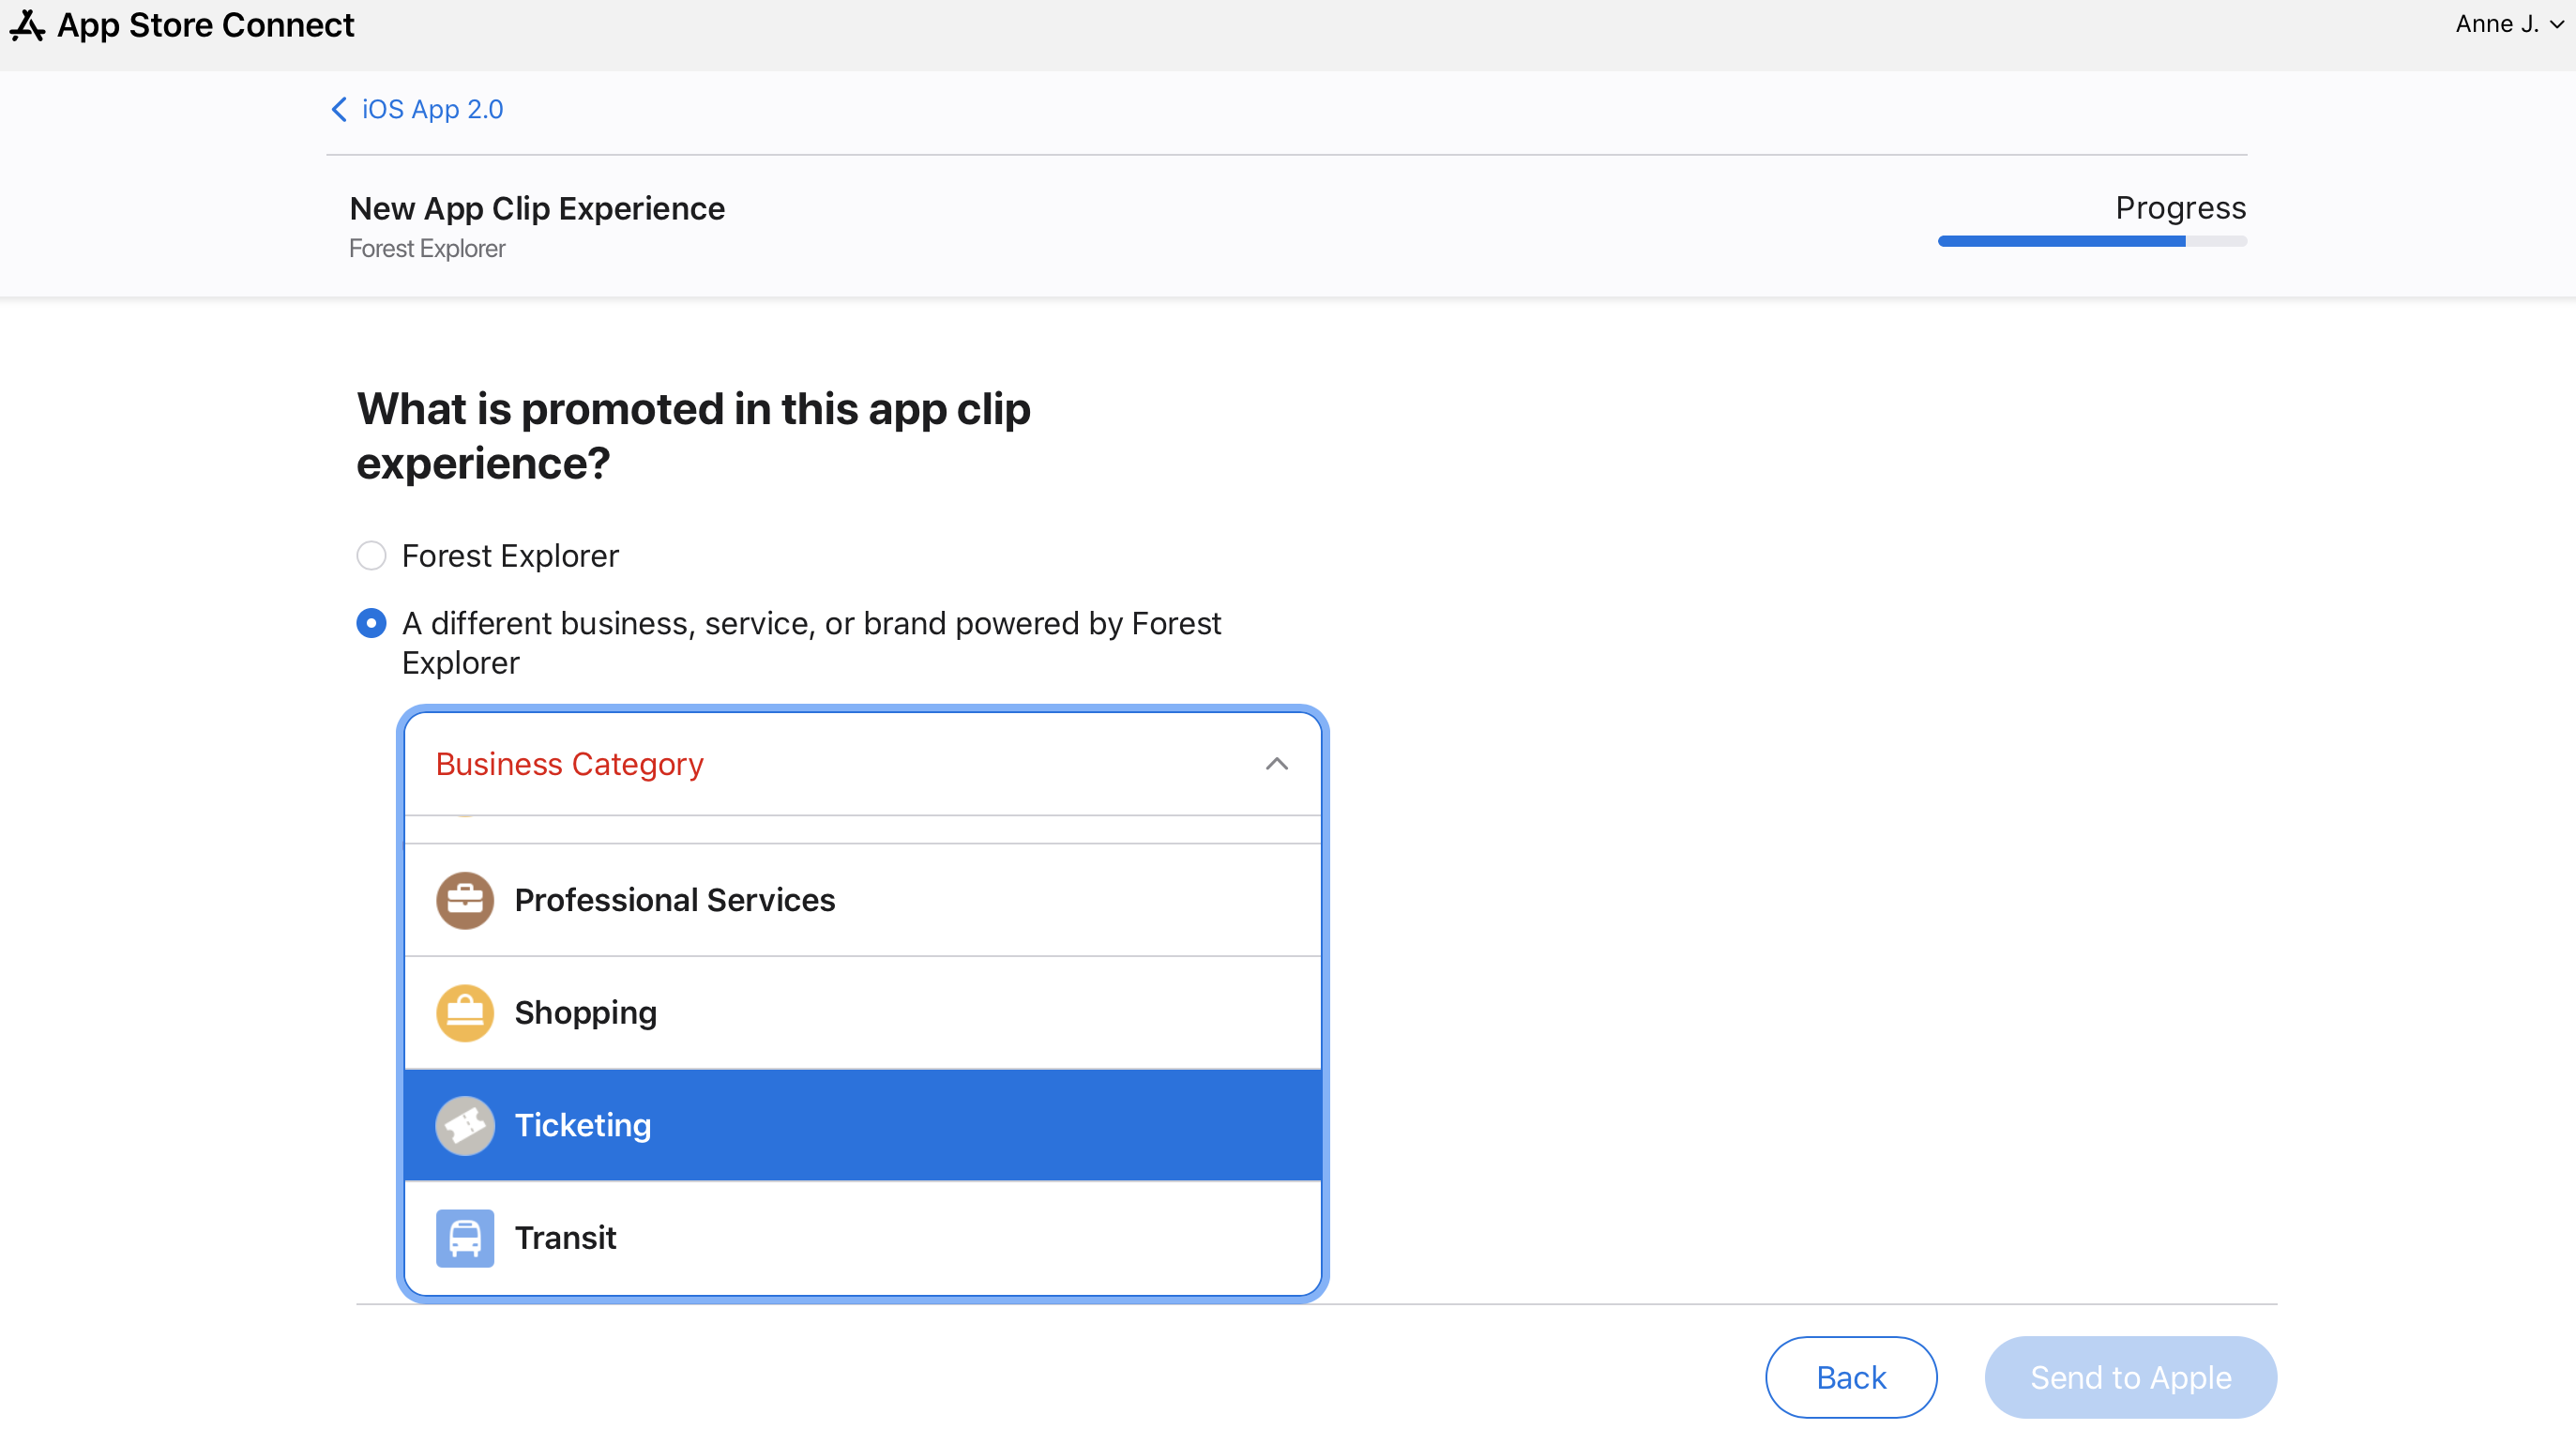
Answer the question about what this App Clip experience promotes. Specify whether it promotes your app’s business, service, or brand or if it’s created on behalf of other businesses, services, or brands that appear within your app.
-
Click Send to Apple.
All the experiences you’ve configured, along with their statuses, will display on the App Clip experiences page.
Set up an advanced App Clip experience with place association
A place association is an optional component that connects the App Clip to a physical location, and is needed for the experience to be invoked in Maps. Place association doesn’t guarantee inclusion in Apple Maps and may not be available in all regions.
If an App Clip is part of the location’s official app, it'll be approved for that location. If it’s not part of the official app, either the business owner must claim the location through Apple Business Connect and approve the App Clip to display, or the creator of the App Clip must be authorized as a partner on the business’ website.
-
From Apps, select your app.
-
In the sidebar, select the iOS app version for which you want to add an App Clip experience.
-
Under Advanced App Clip Experiences, click Edit Advanced Experiences. A new page opens with general information on what to provide.
-
Click Next.
-
In the App Clip experience URL field, enter the invocation URL.
The App Clip Bundle ID will be prepopulated.
-
Click Next.
-
Enter the information for the App Clip card. To add a Default Display Title and Default Subtitle in additional languages, click Add Additional Titles.
-
Specify that your App Clip experience is associated with a place.
View tooltips next to each field for more details.
-
Select a Maps action that best fits the experience and click Next. This determines the action that appears on the place card in Maps.

-
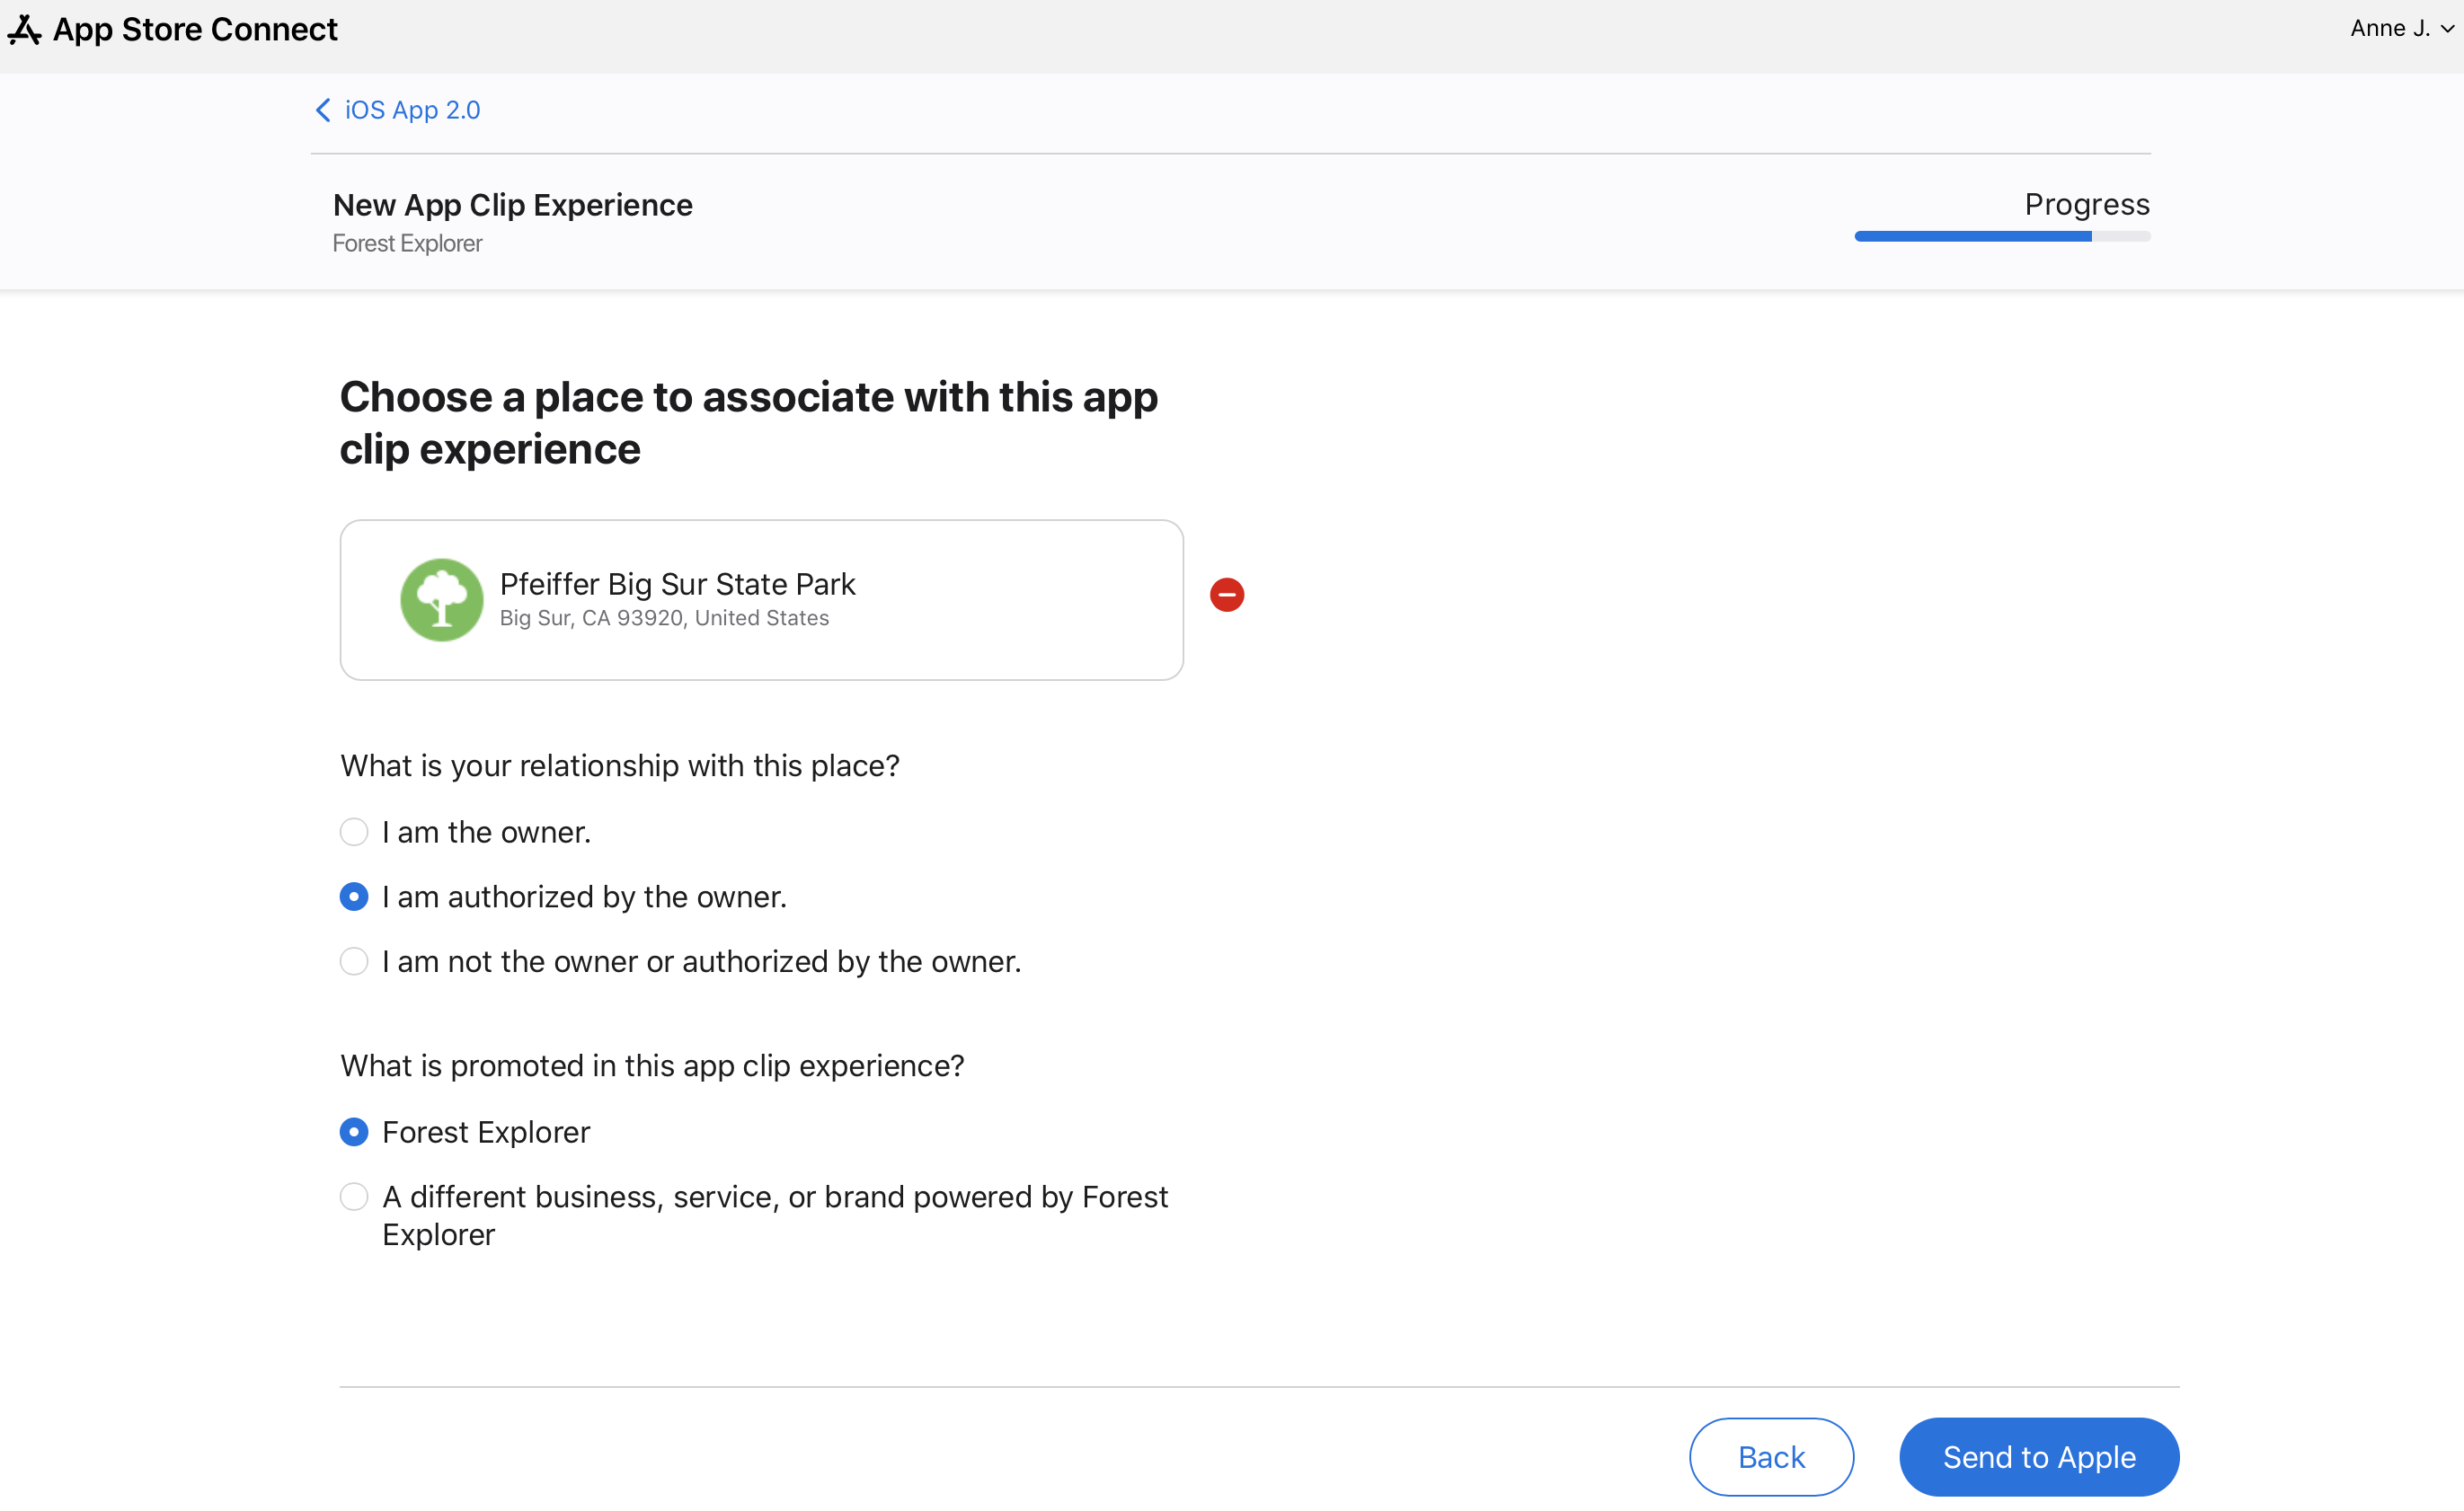
Choose a place to associate with this App Clip experience.
-
Answer the question about the relationship between your app and the place associated with this App Clip experience.
-
Answer the question about what this App Clip experience promotes. Specify whether it promotes your app’s business, service, or brand, or if it’s created on behalf of other businesses, services, or brands that appear within your app.
Learn about creating App Clips for other businesses.
-
If your App Clip experience promotes another business, service, or brand, select a category.
-
Click Send to Apple.
All the experiences you’ve configured, along with their statuses, will display on the App Clip experiences page.
Note: To confirm that your App Clip experience appears in Maps, open Maps and search for places associated with the experience.